
“How To…” make homemade soap with lye. Sound hard? Sound dangerous? Sound fun? My latest adventure in getting back to basics was to make a foray into the world of homemade soap with lye…and I’m so glad I tried it! The soap turned out wonderful! It has a pleasant smell, lathers up beautifully, and makes our skin feel great – even my husband loves it and is using it. So without further ado, here are step-by-step instructions for my all-natural lavender rosemary soap.
Ingredients list:
- Almond Oil – 4.8 oz.
- Coconut Oil – 12.8 oz.
- Olive Oil – 14.4 oz.
- Water – 12.16 oz. (Distilled or purified)
- Lye – 4.72 oz.
- Lavender essential oil – .5 oz.
- Rosemary essential oil – .5 oz.
Equipment list:
- Large crock pot
- Long-handled stainless steel spoon
- Hand blender
- Plastic cup
- Large glass or plastic measuring cup
- Large glass mixing bowl
- Digital scale
- rubber gloves
- eye protection
This recipe is for a hot process method of soapmaking versus a cold process method. Both methods are essentially the same except the hot process method adds the step of cooking the soap mixture. Using heat speeds up the saponification process and allows the soap to be used in days instead of weeks. Saponification is the process of combining oils with a lye/water mixture which creates soap.
A side note about lye – Lye (sodium hydroxide) is a dangerous substance that must be treated with extreme care and caution. This is why rubber gloves, eye protection, and some simple safety procedures are a MUST if you are working with lye. Please don’t let this scare you away from soapmaking – I am just trying to emphasize the need for caution. As long as you follow the safety procedures, you will be fine. Trust me!
Okay, let’s get started! The first thing I did was to measure and combine all of my oils in a crock pot initially set to high. Accurate measuring is essential in soapmaking. The ratios of oils to lye/water must be correct or the soap may not set correctly. For exact measurements, use a digital scale. After I turned on the scale, I set my measuring cup on it and hit the On/Tare button to set it back to zero again. You don’t want the weight of your measuring cup to be factored into the total oil weight. I used a combination of three oils for this soap: almond, coconut, and olive oil. There are so many combinations of oils you can use. In order to create your own recipe, use this soap calculator to choose what you would like to use and it will automatically figure the amounts for you as well as the correct ratio of lye and water. Neat, huh?
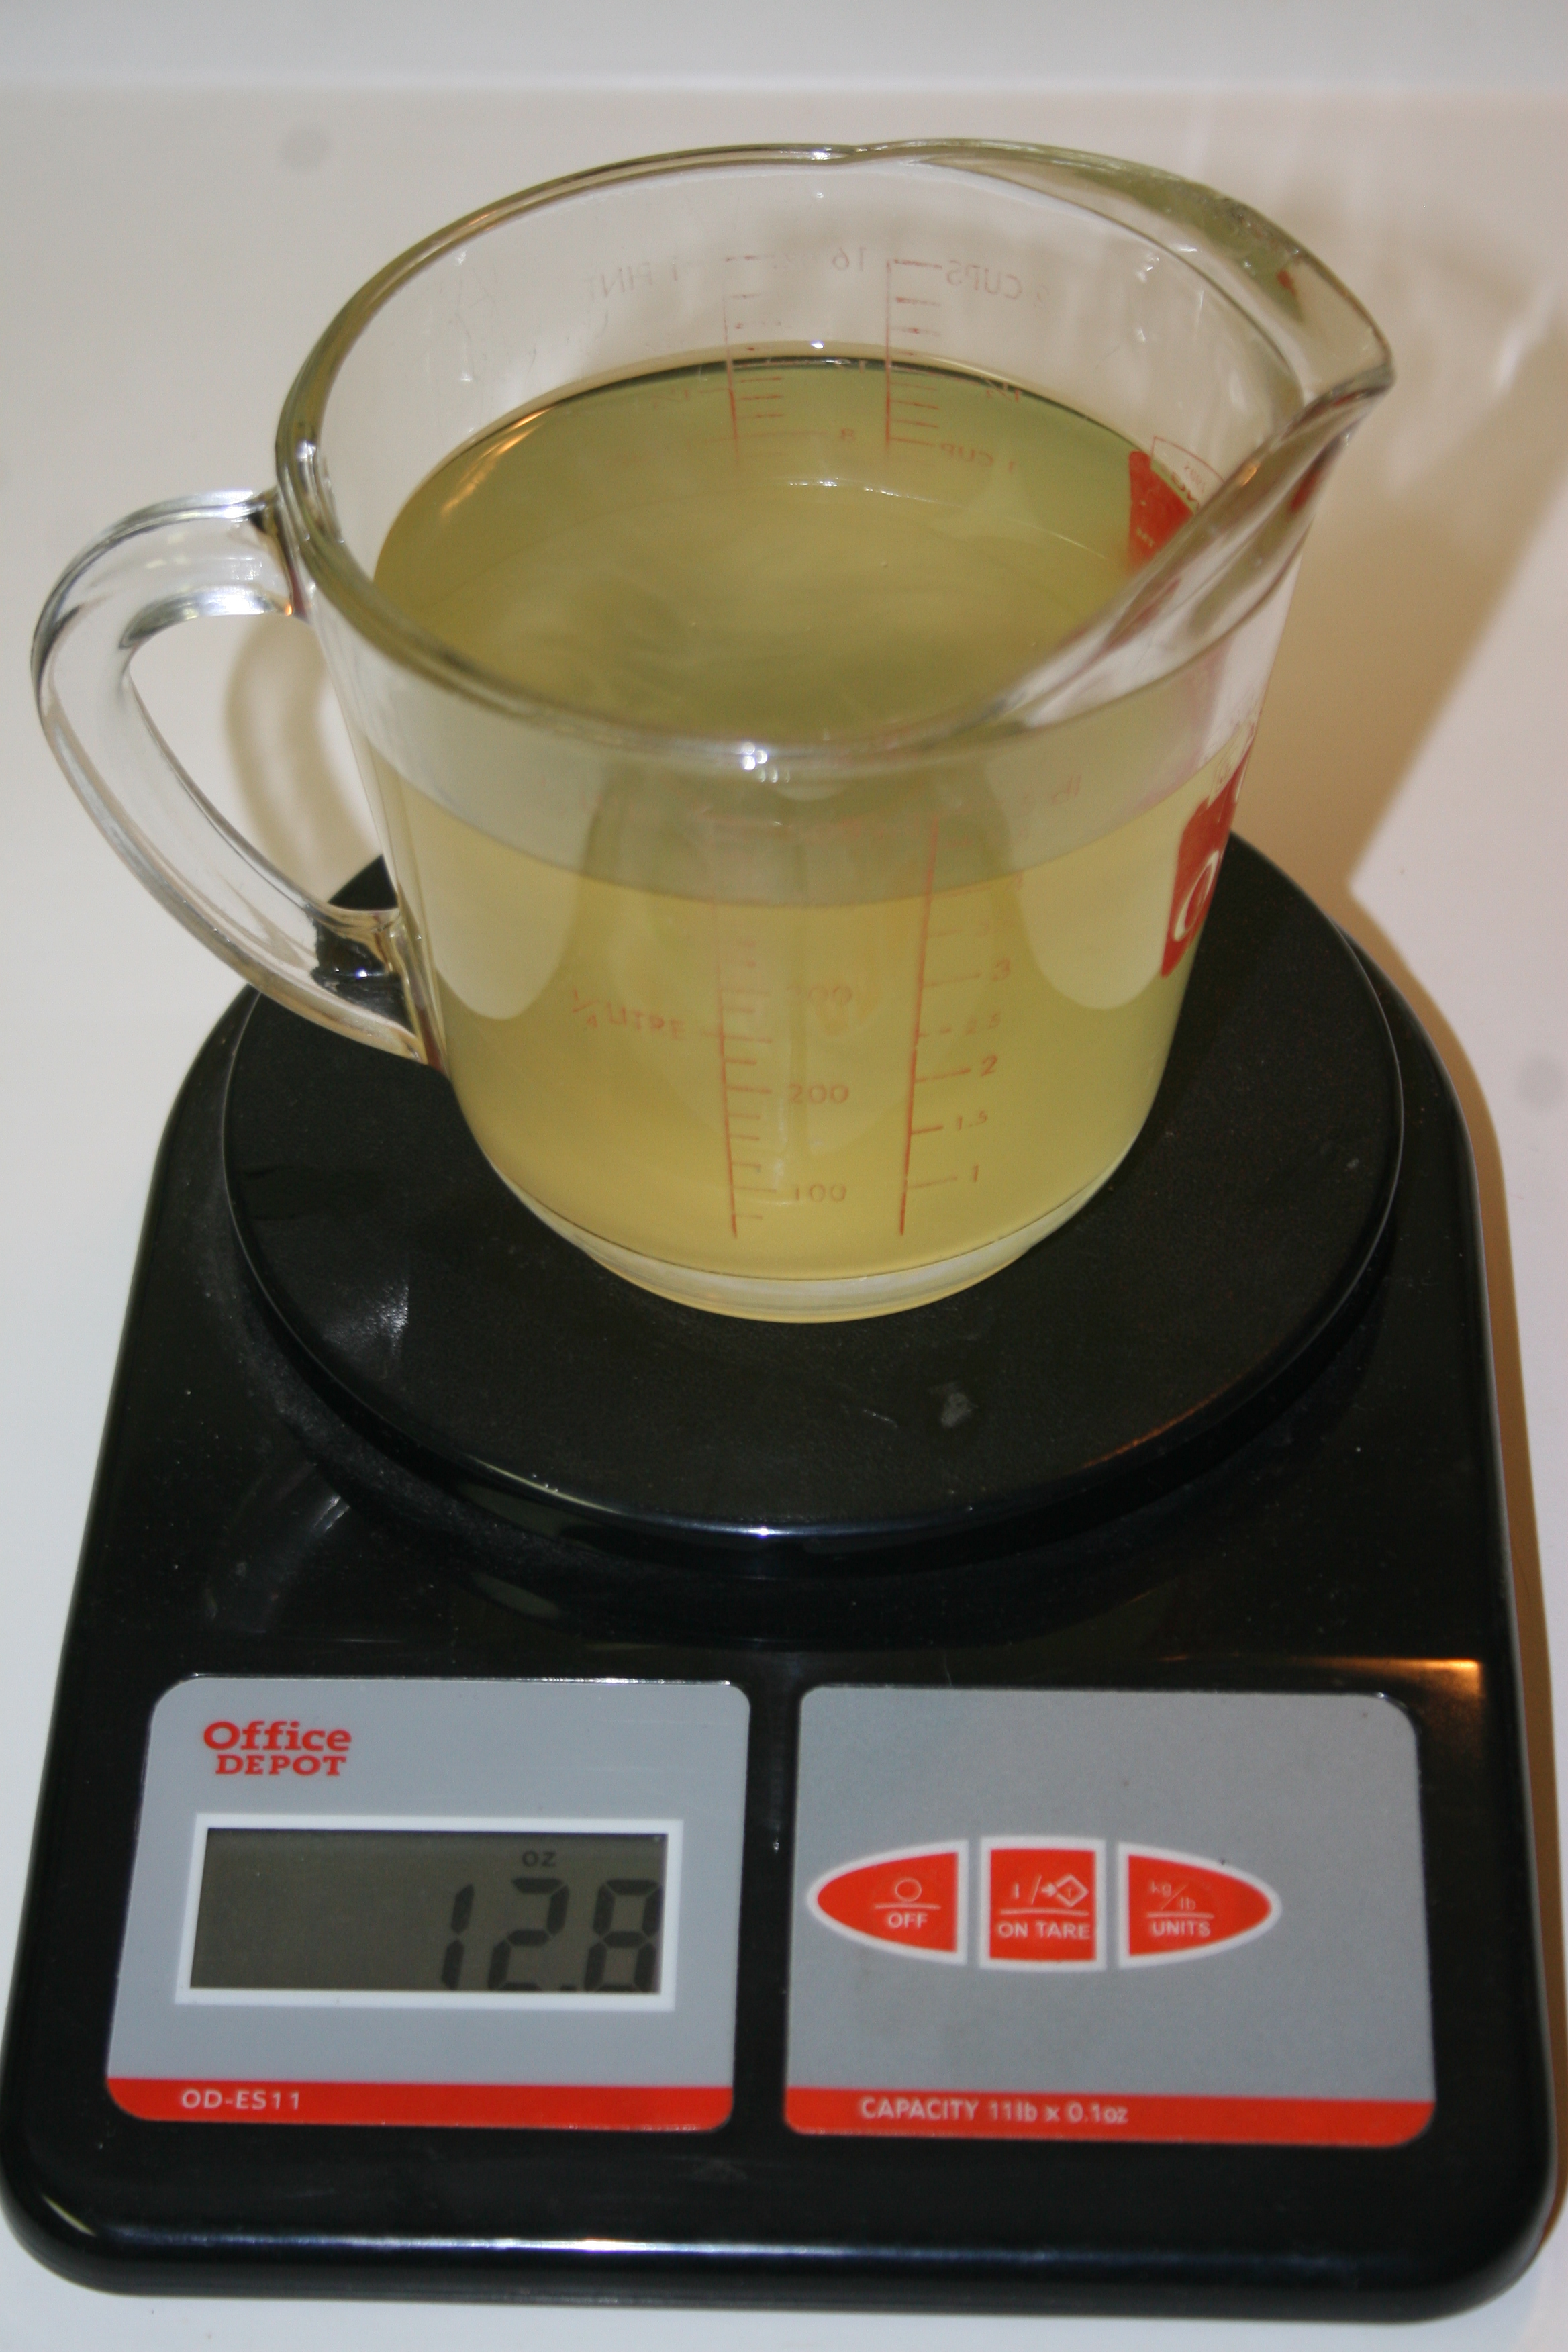
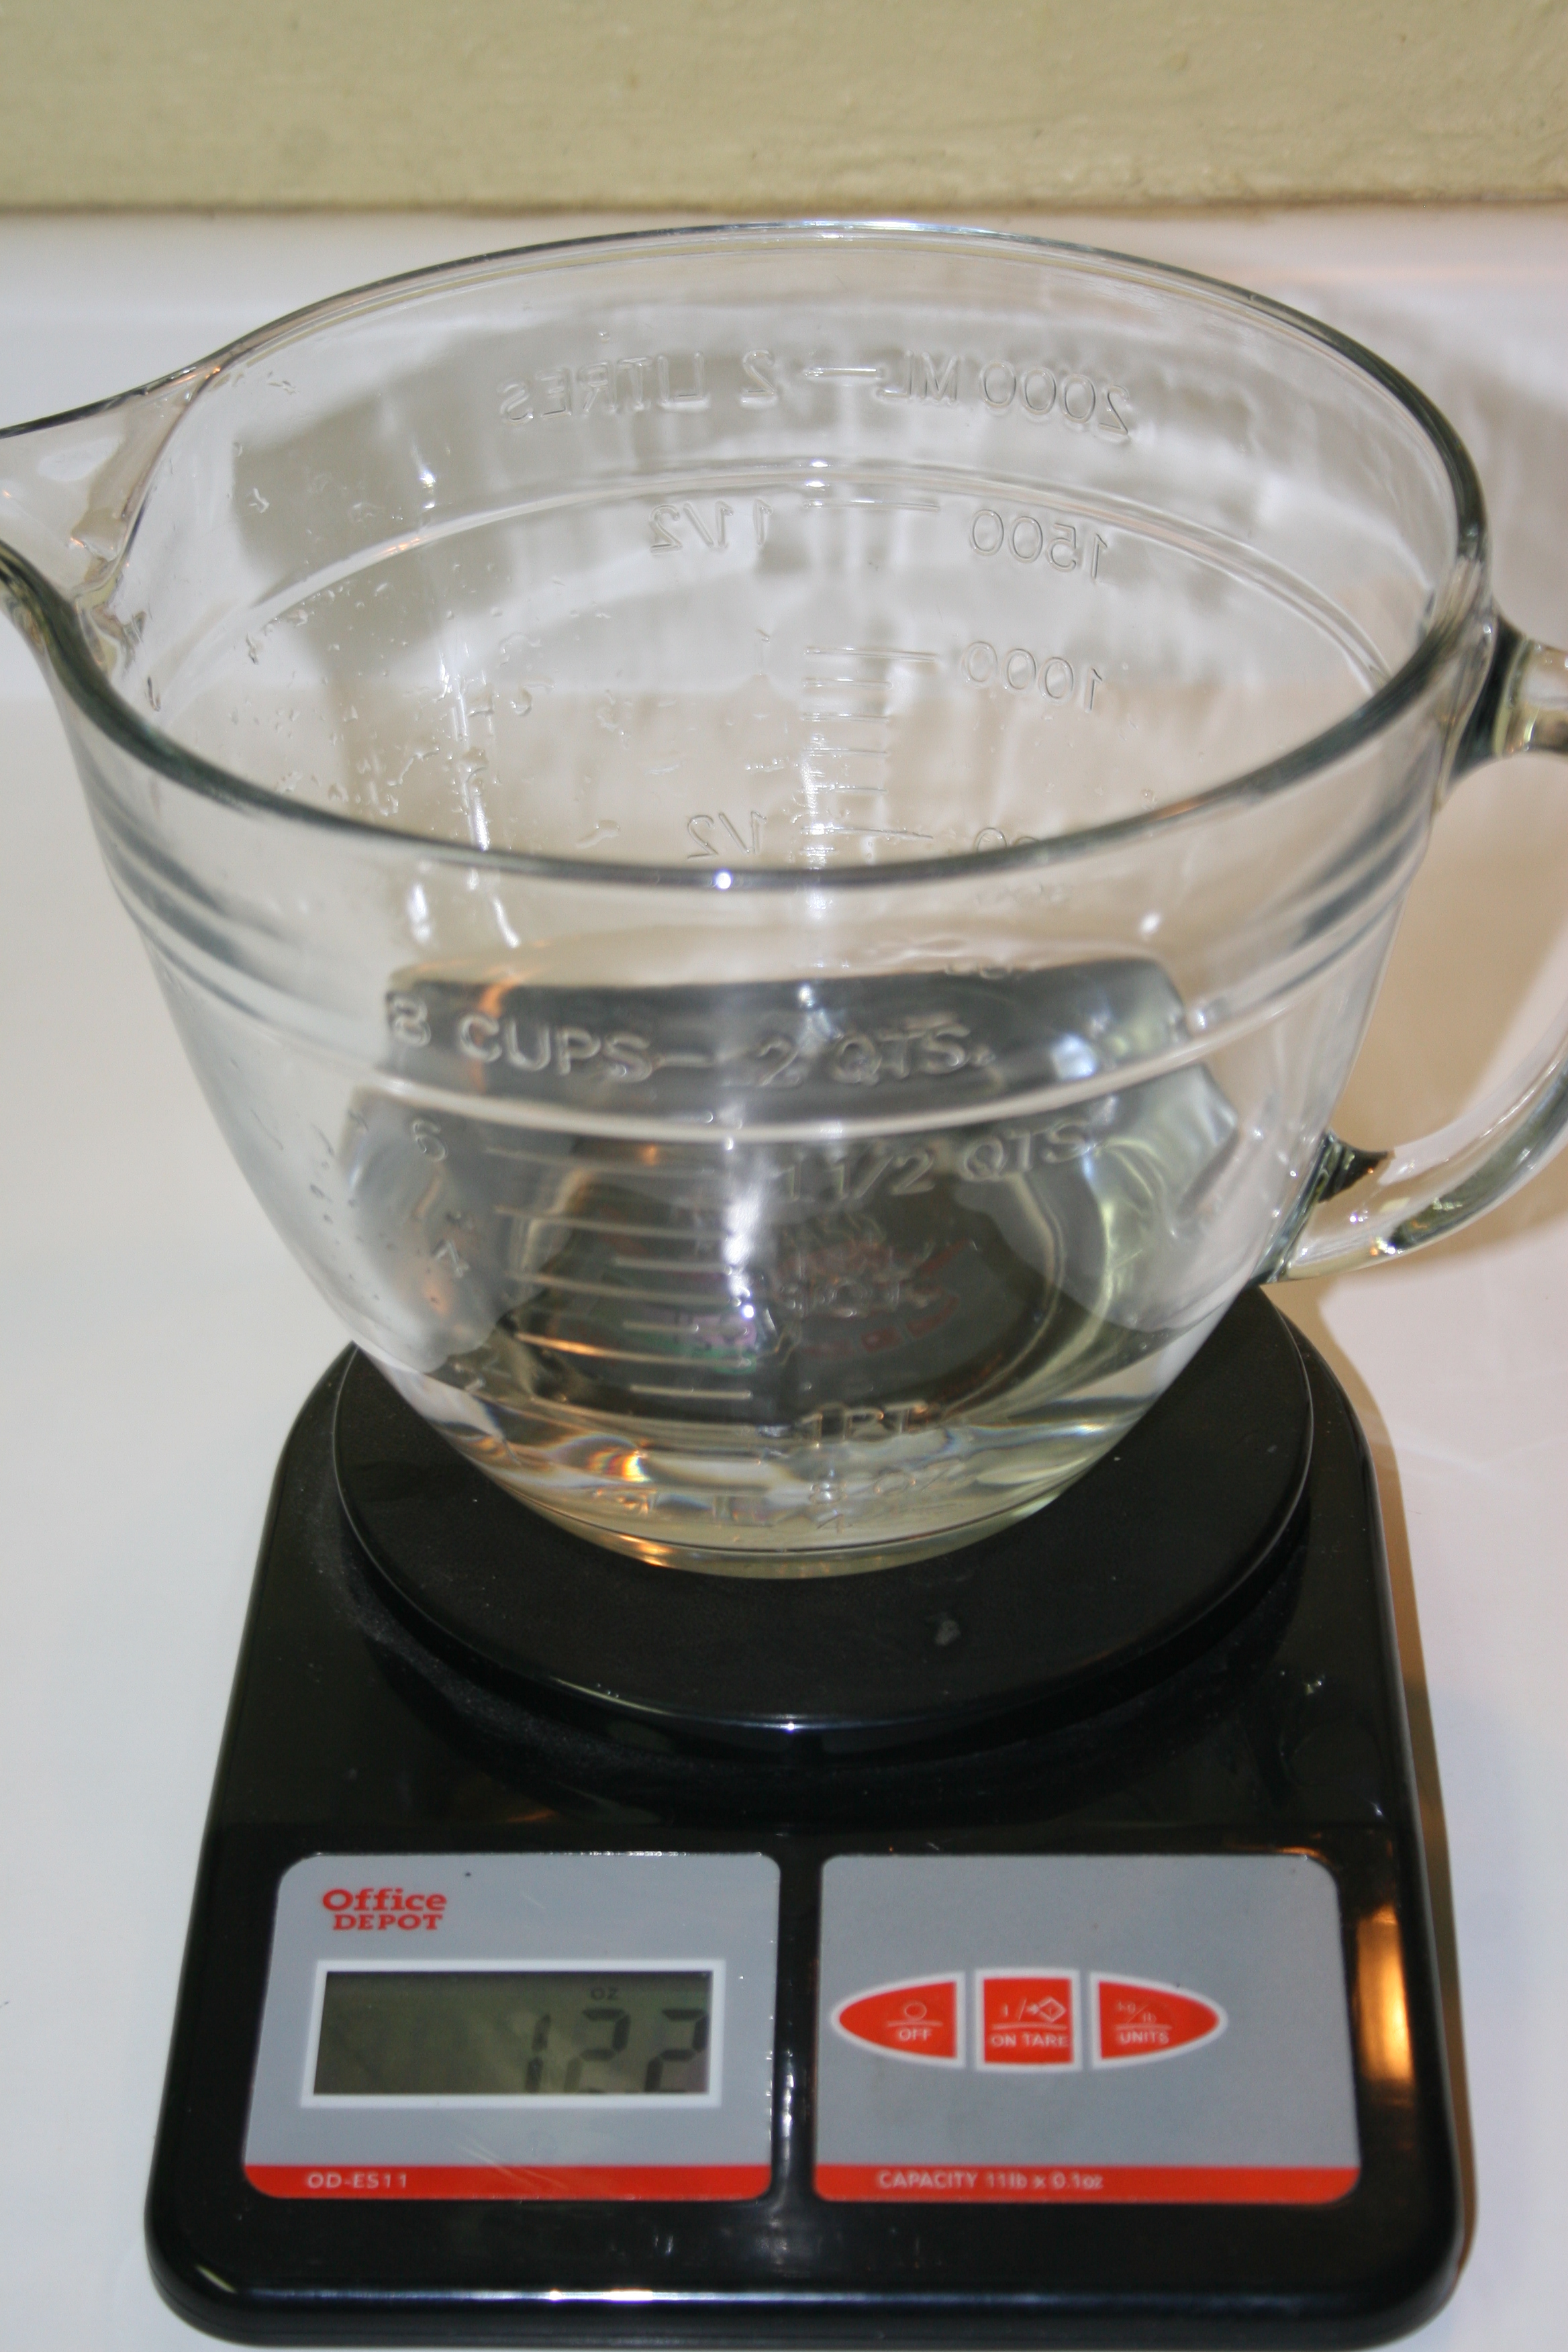
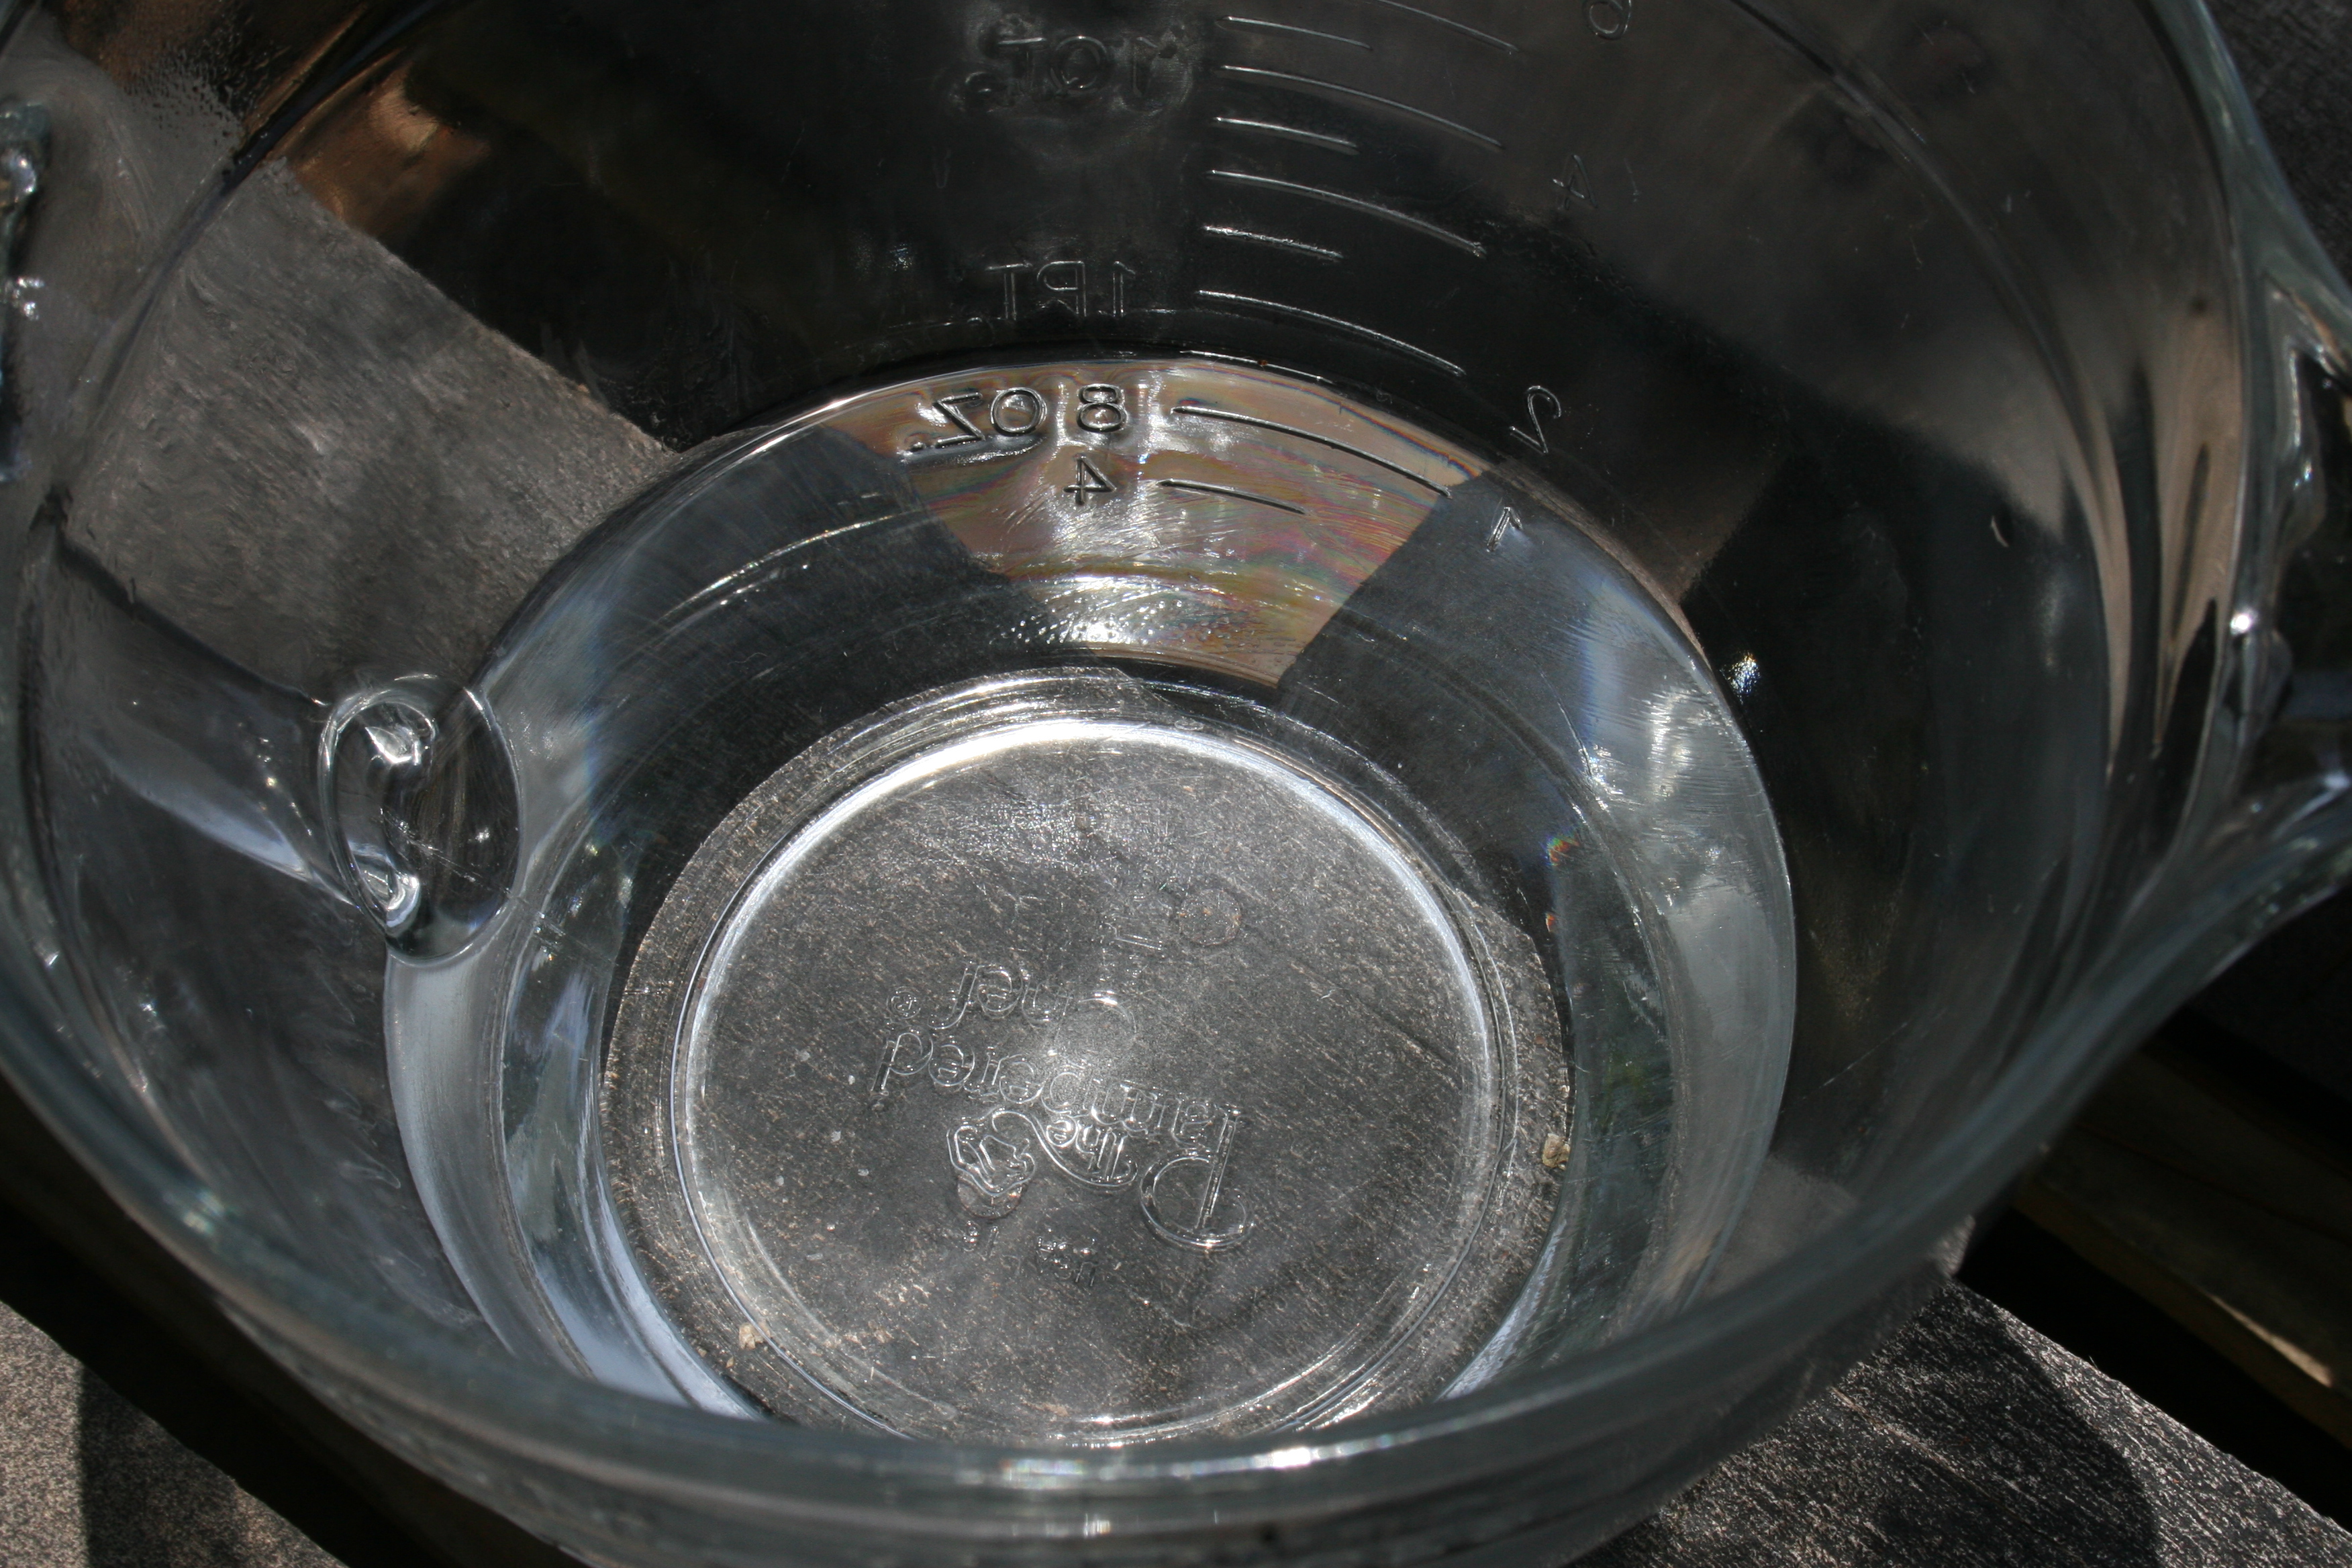
After pouring my oils in the crock pot, I let them initially heat up and then I turned them down to low. As the oils were heating, I measured my water and lye. I used a large glass measuring cup for the water because this will be the same container that I add the lye to later.
The lye I used is called Red Crown Lye and I ordered a 2 lb. container from Amazon. It is difficult to find lye in stores although some small hardware stores may still carry it. Buying in bulk makes it more affordable as well. When handling the lye, always wear your eye protection and your gloves. I also kept a bowl of vinegar with a sponge next to me as I worked with the lye. Vinegar helps to neutralize the burning effects of the lye. If lye comes in contact with your skin, immediately sponge with vinegar. If lye comes into contact with your eyes, it can cause blindness. Read the instructions on the lye container as to the proper steps to take if this should happen before you begin working with it. When I measured the lye, I did so in the back yard where I had set up my equipment to make my water/lye mixture.
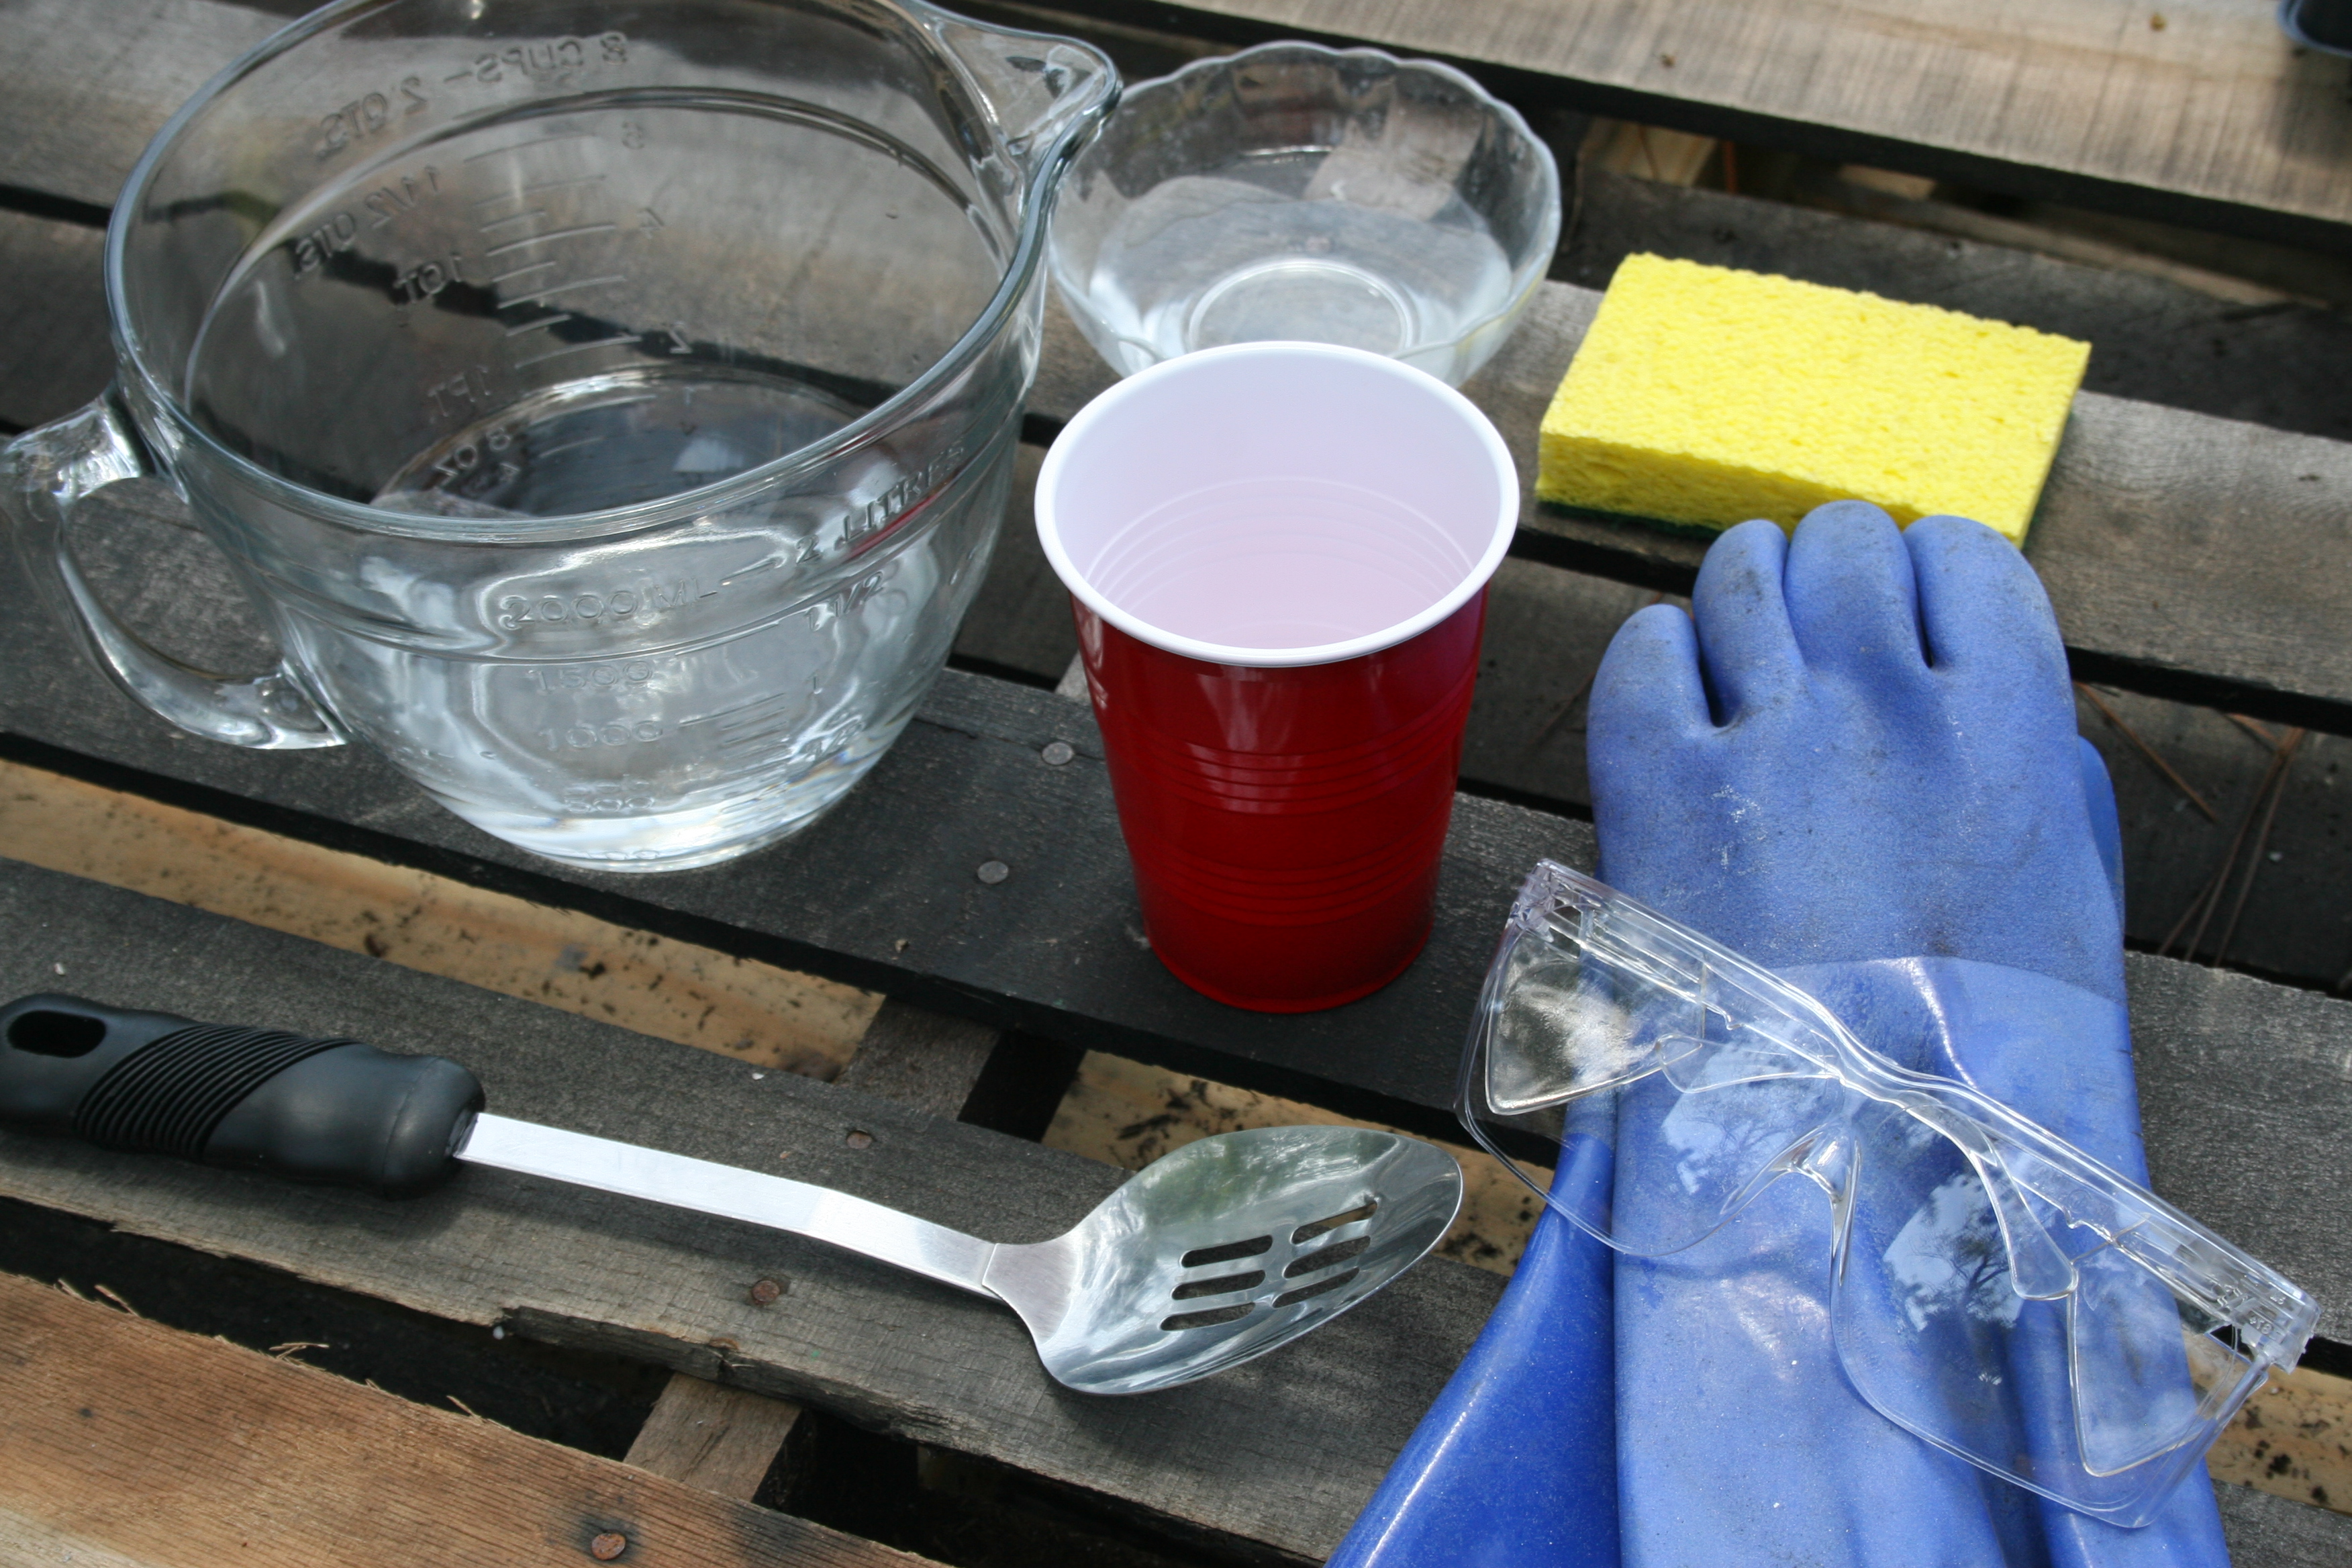
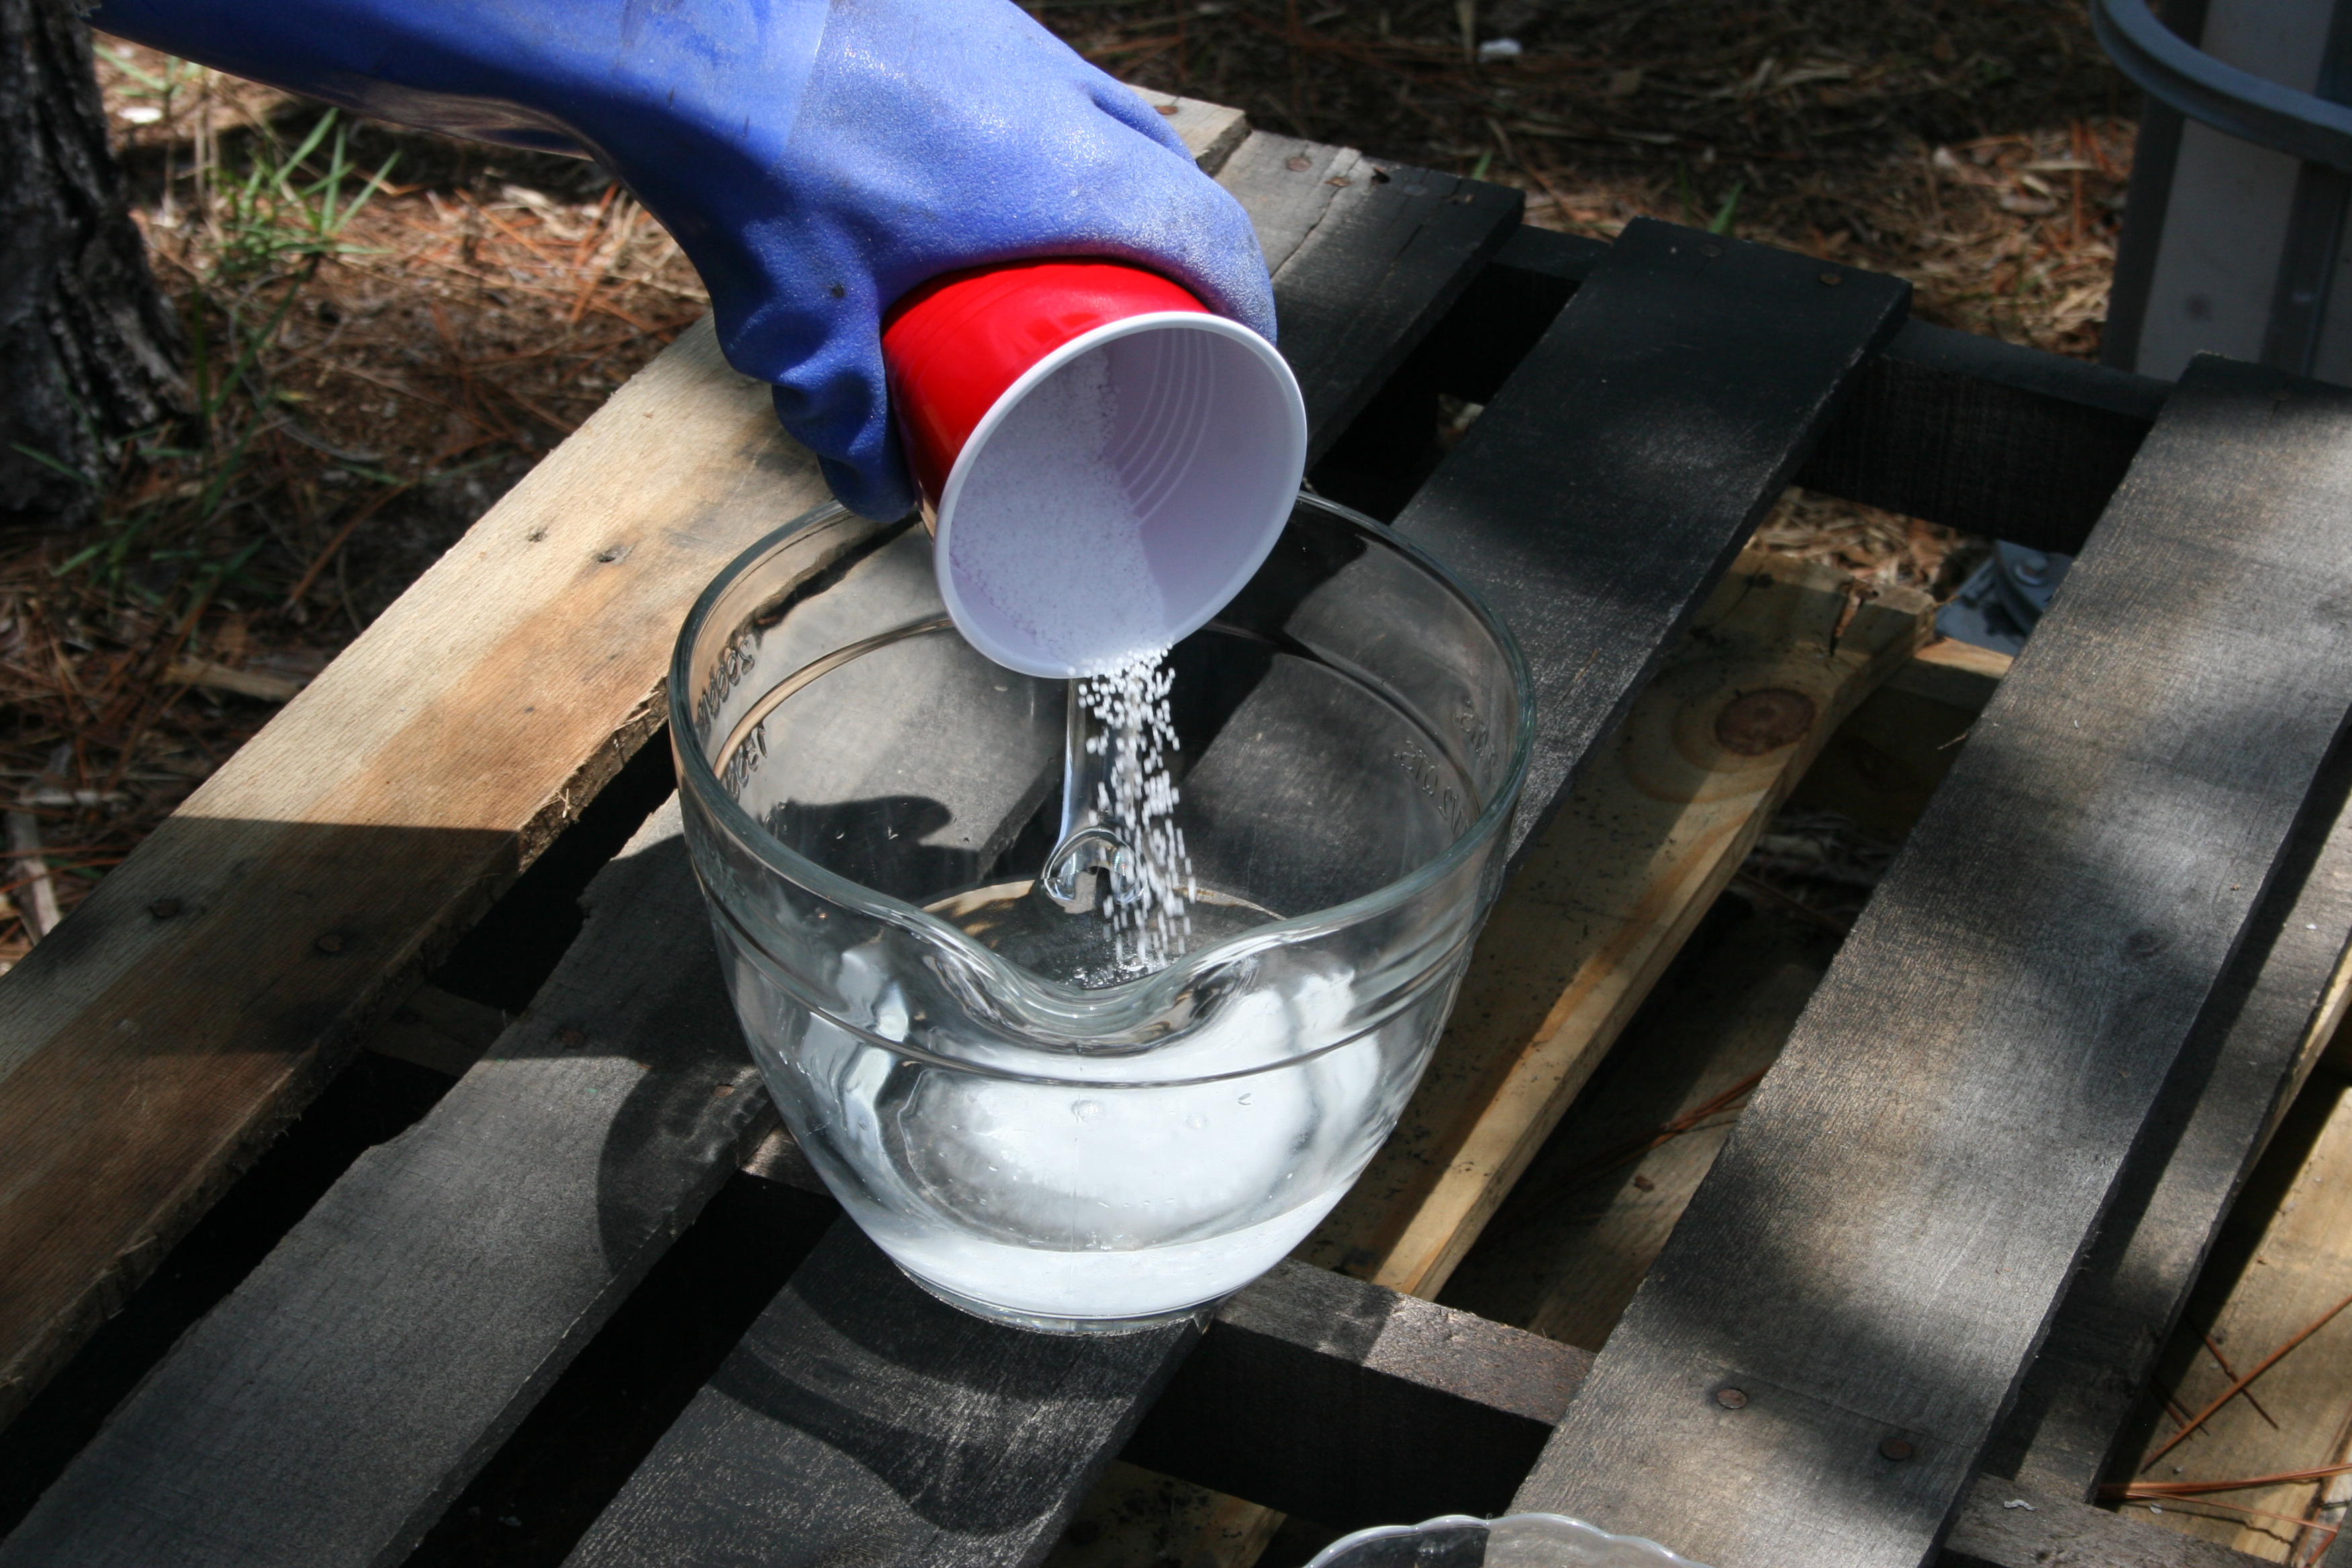
The measured lye was placed into the disposable plastic cup. Very slowly and carefully, I poured the lye into the water and stirred with a stainless steel spoon (do not use aluminum). Lye is always added to water; never add the water to the lye. (Unless you want an explosion of lye to shoot up like a volcano, which I don’t think you do.) As I stirred, I stood as far back as I could and turned my face away. When the lye is initially added and blended, it gives off strong fumes which is why I would recommend doing this step outdoors and not in, unless you are in a very well-ventilated area. I didn’t smell it at all although my husband (who was snapping pictures) caught a whiff on the breeze. (Sorry, honey!)
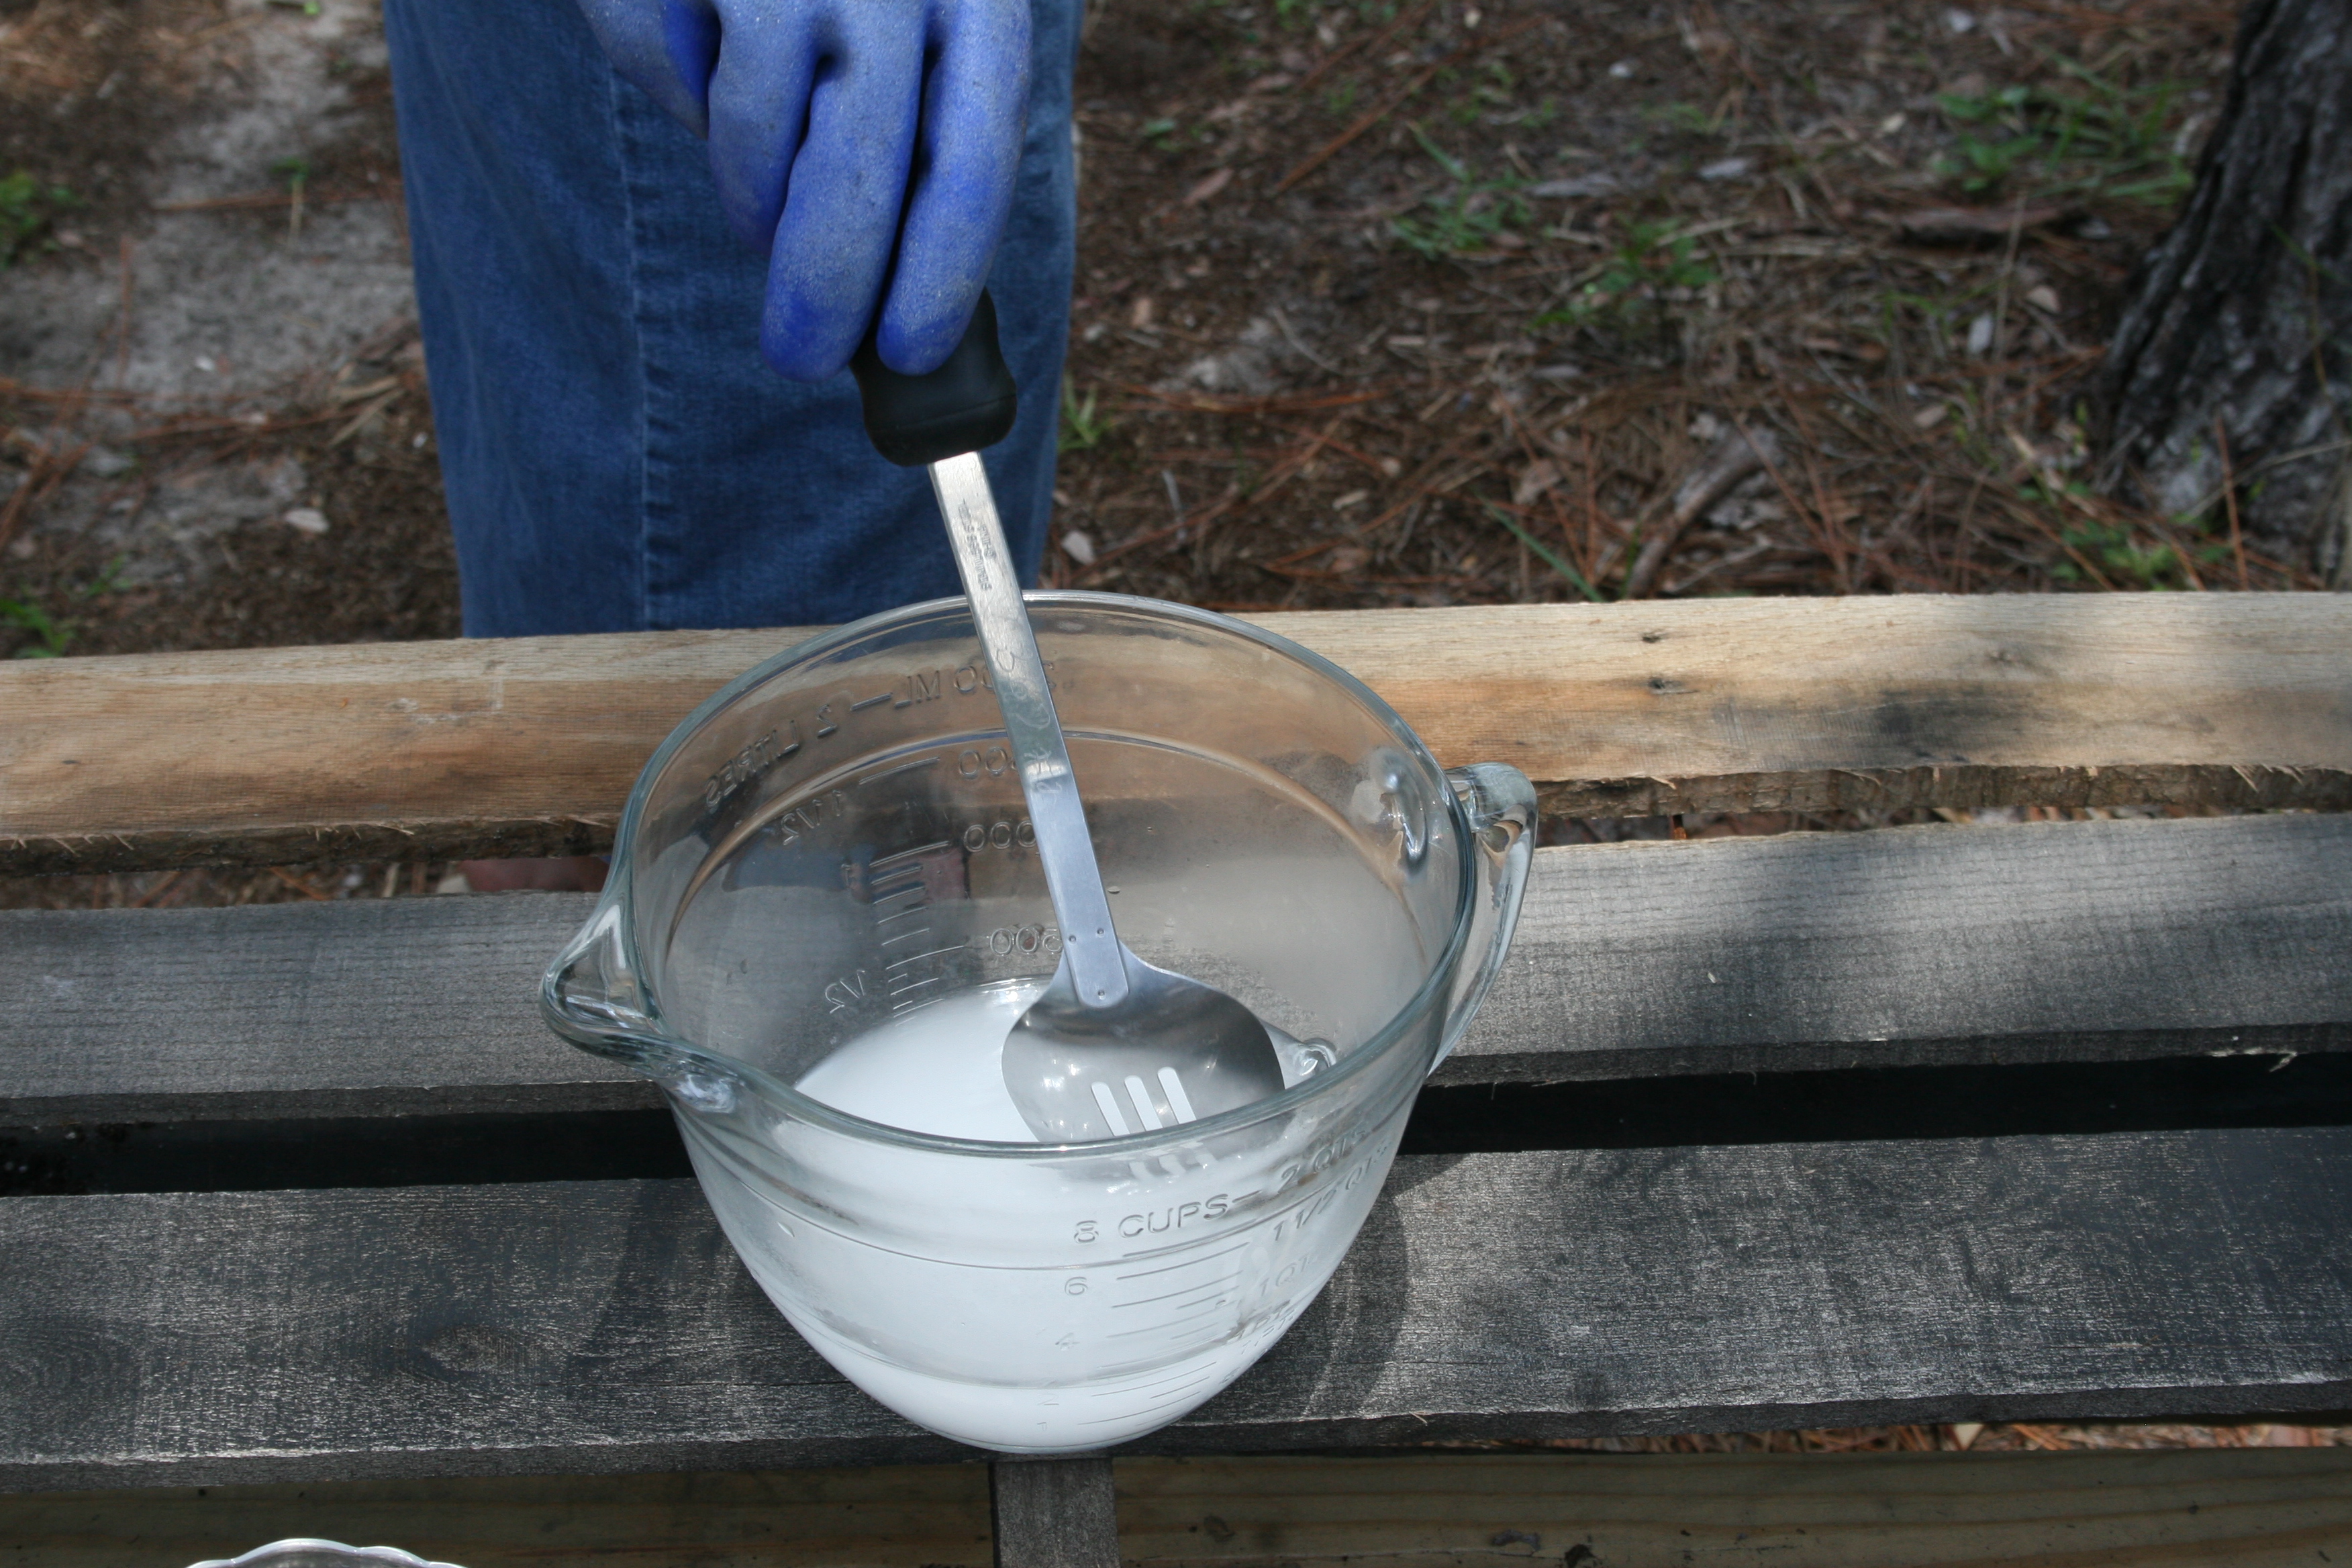
When the lye is added to the water, a chemical reaction takes place and the mixture becomes very hot. Use caution and keep gloves and eye protection on while stirring slowly. (Please keep all pets and small children well away for their safety.) Once the lye is dissolved, the mixture sits and is allowed to cool. Initially, the mixture looks cloudy, but it will turn clear as it starts to cool down. Let the mixture sit about 10 minutes.
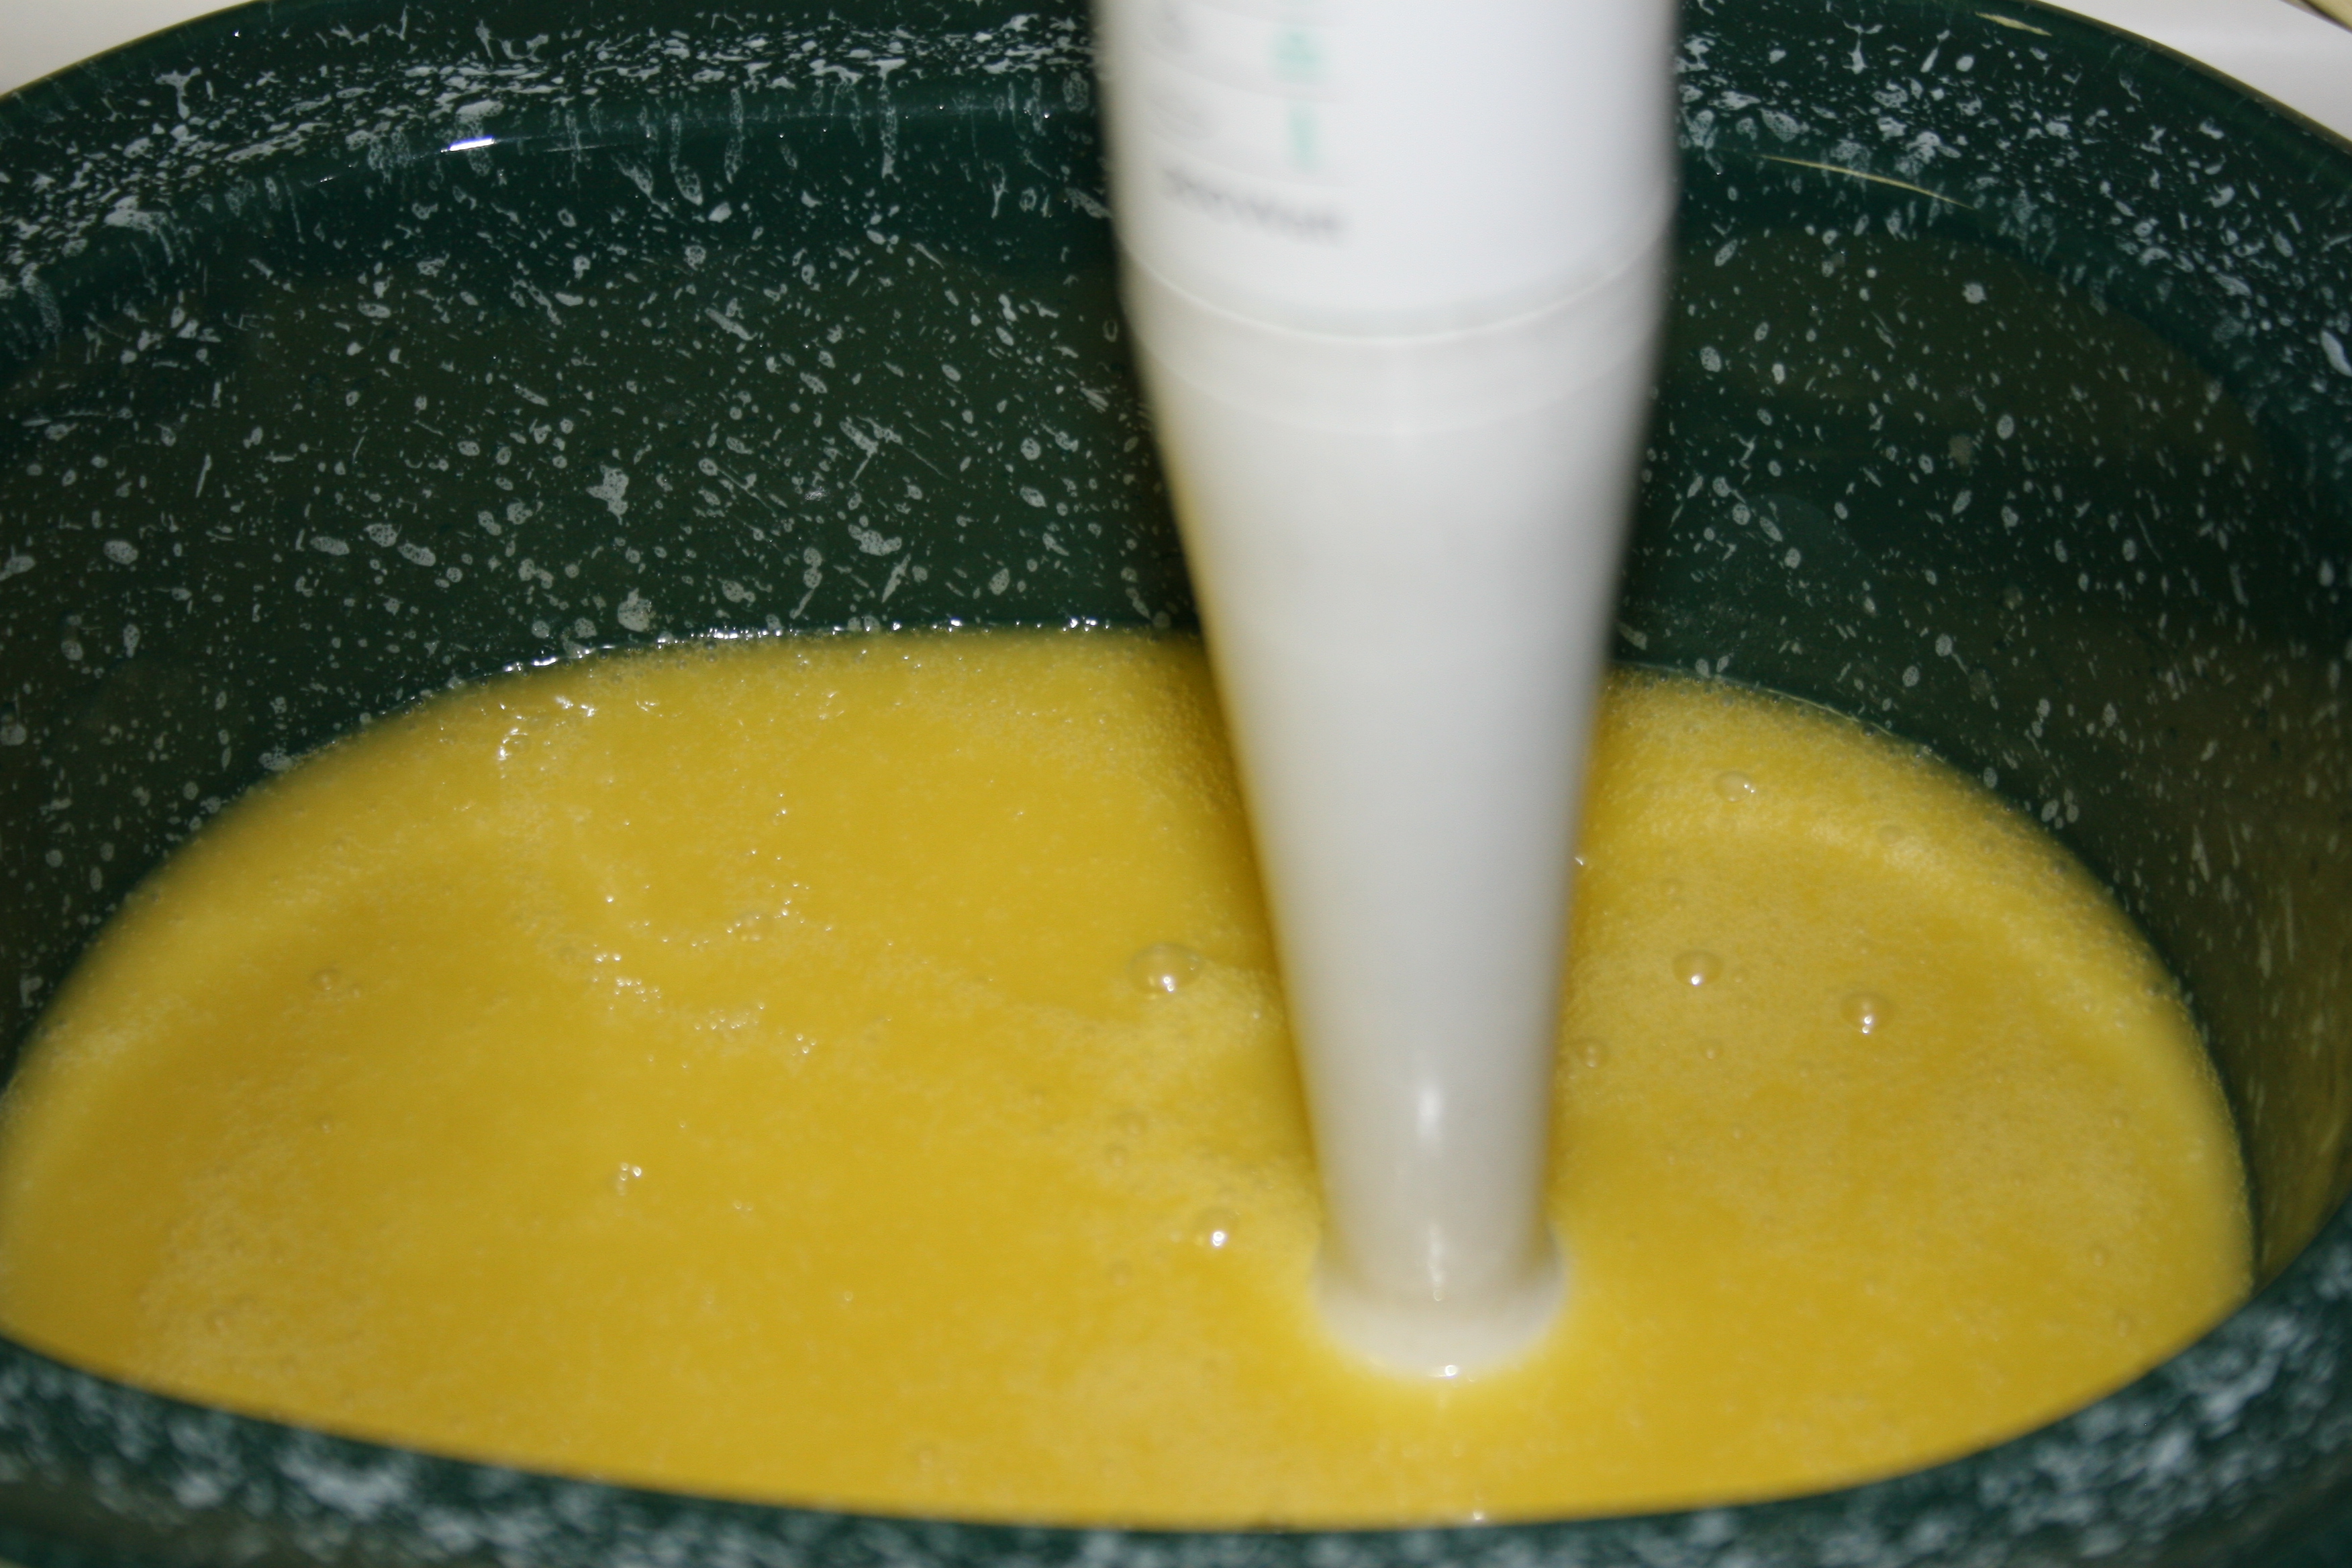
The next part was probably the trickiest for me and the part I was most paranoid about: pouring the lye mixture into the oils and starting to blend it. I wore long sleeves and kept my gloves and eye protection on the whole time. No sweat! I poured the water/lye mixture into the oils very slowly, standing back. Next, I placed my hand blender into the mixture and very carefully started to blend the mixture moving the blender in a figure 8 motion. I continued to blend until the soap came to “trace”. It will look like the consistency of pudding.
At that point, I covered the soap and let it start it to cook on low checking on it every 15-20 minutes. As it cooks, the soap starts to boil up on the sides, like this.
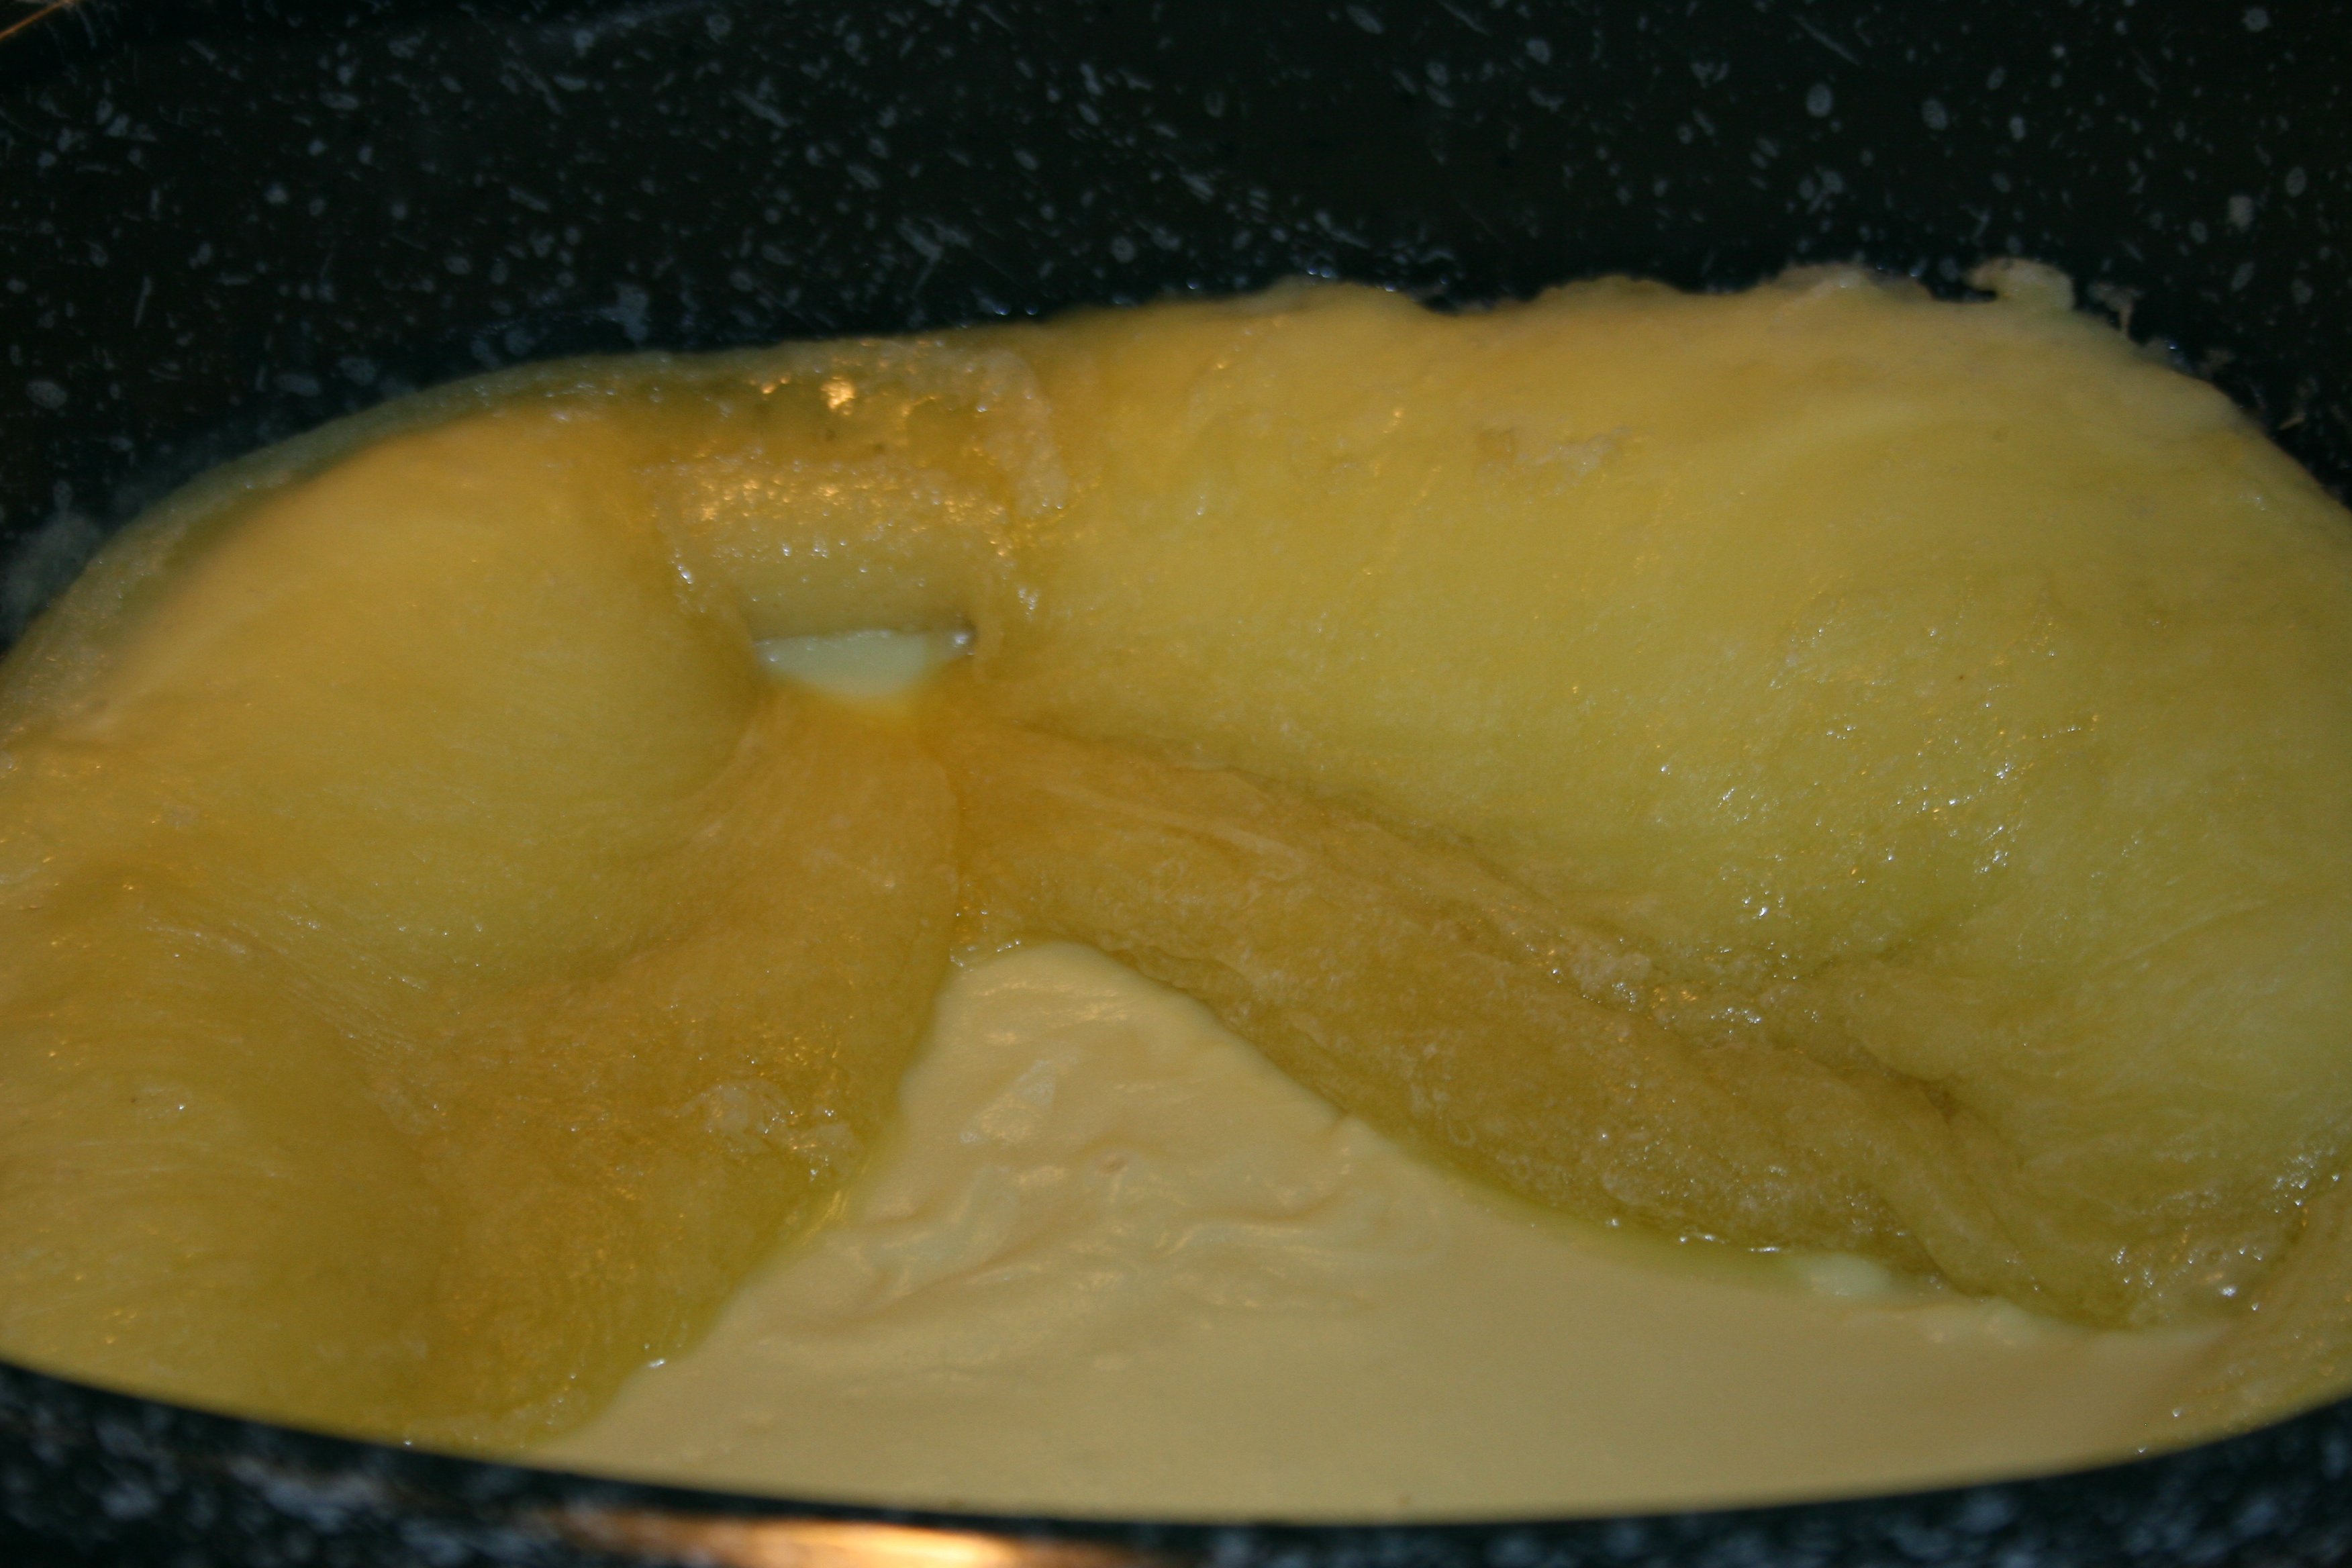
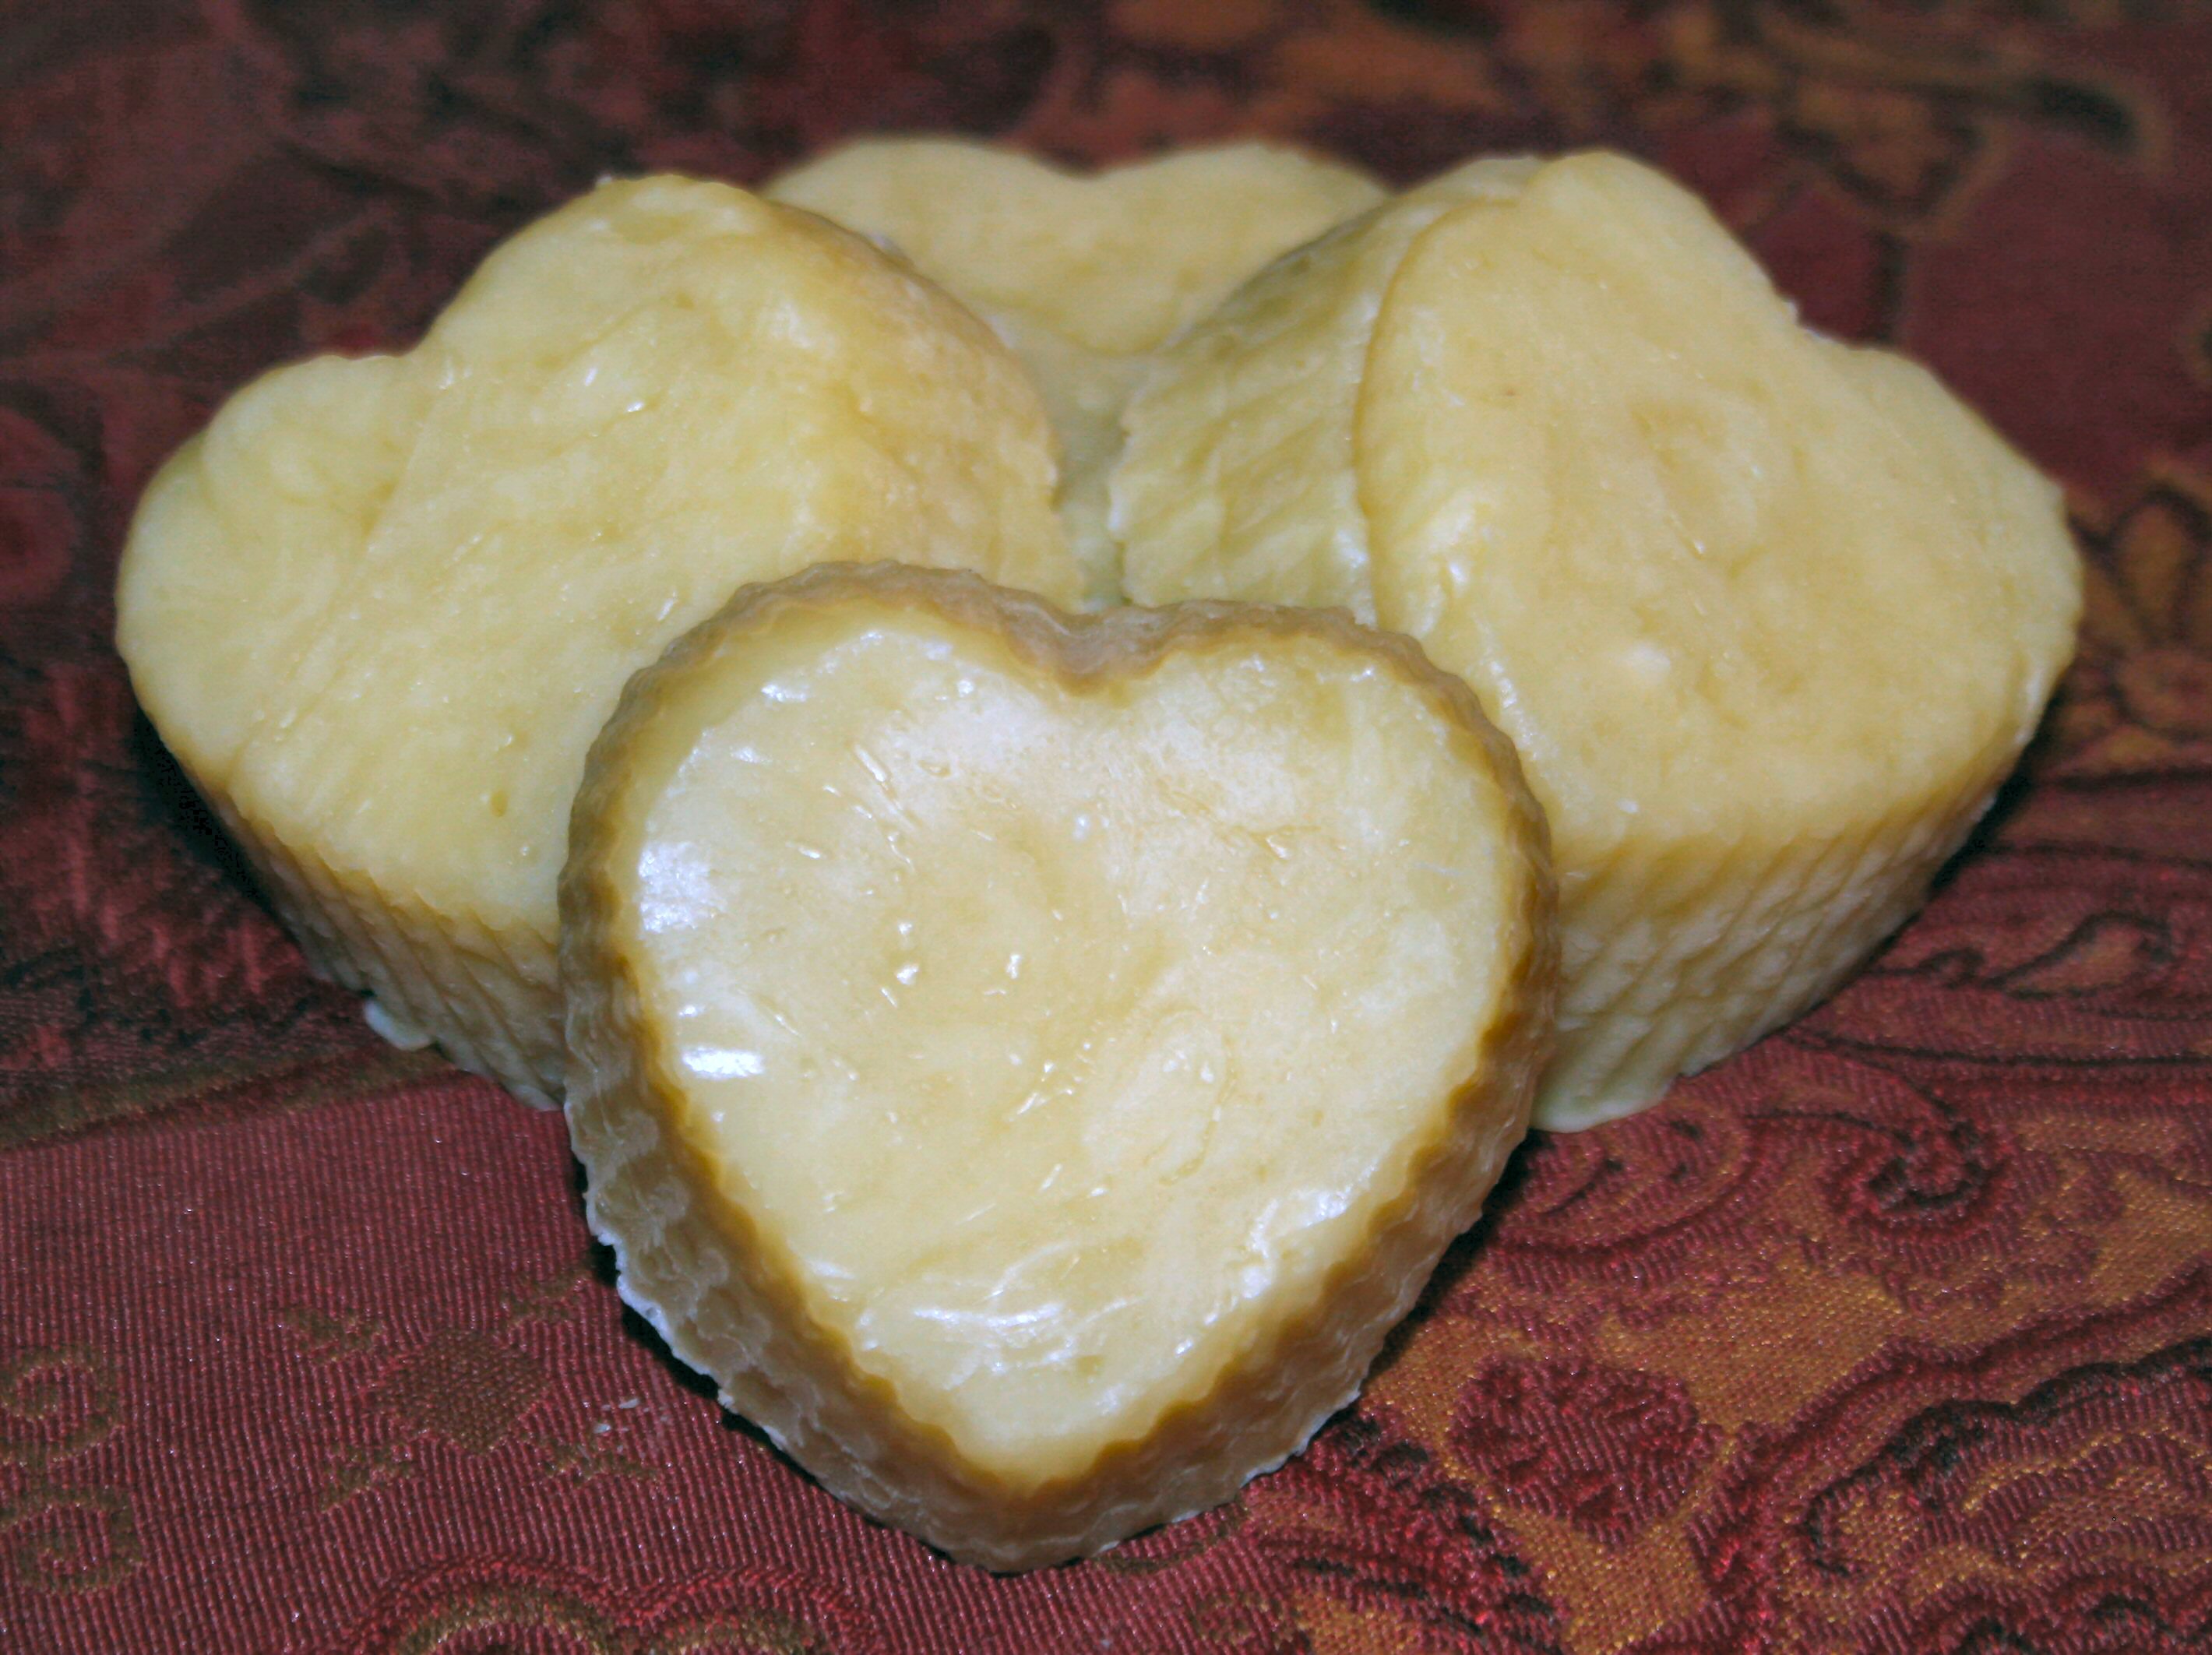
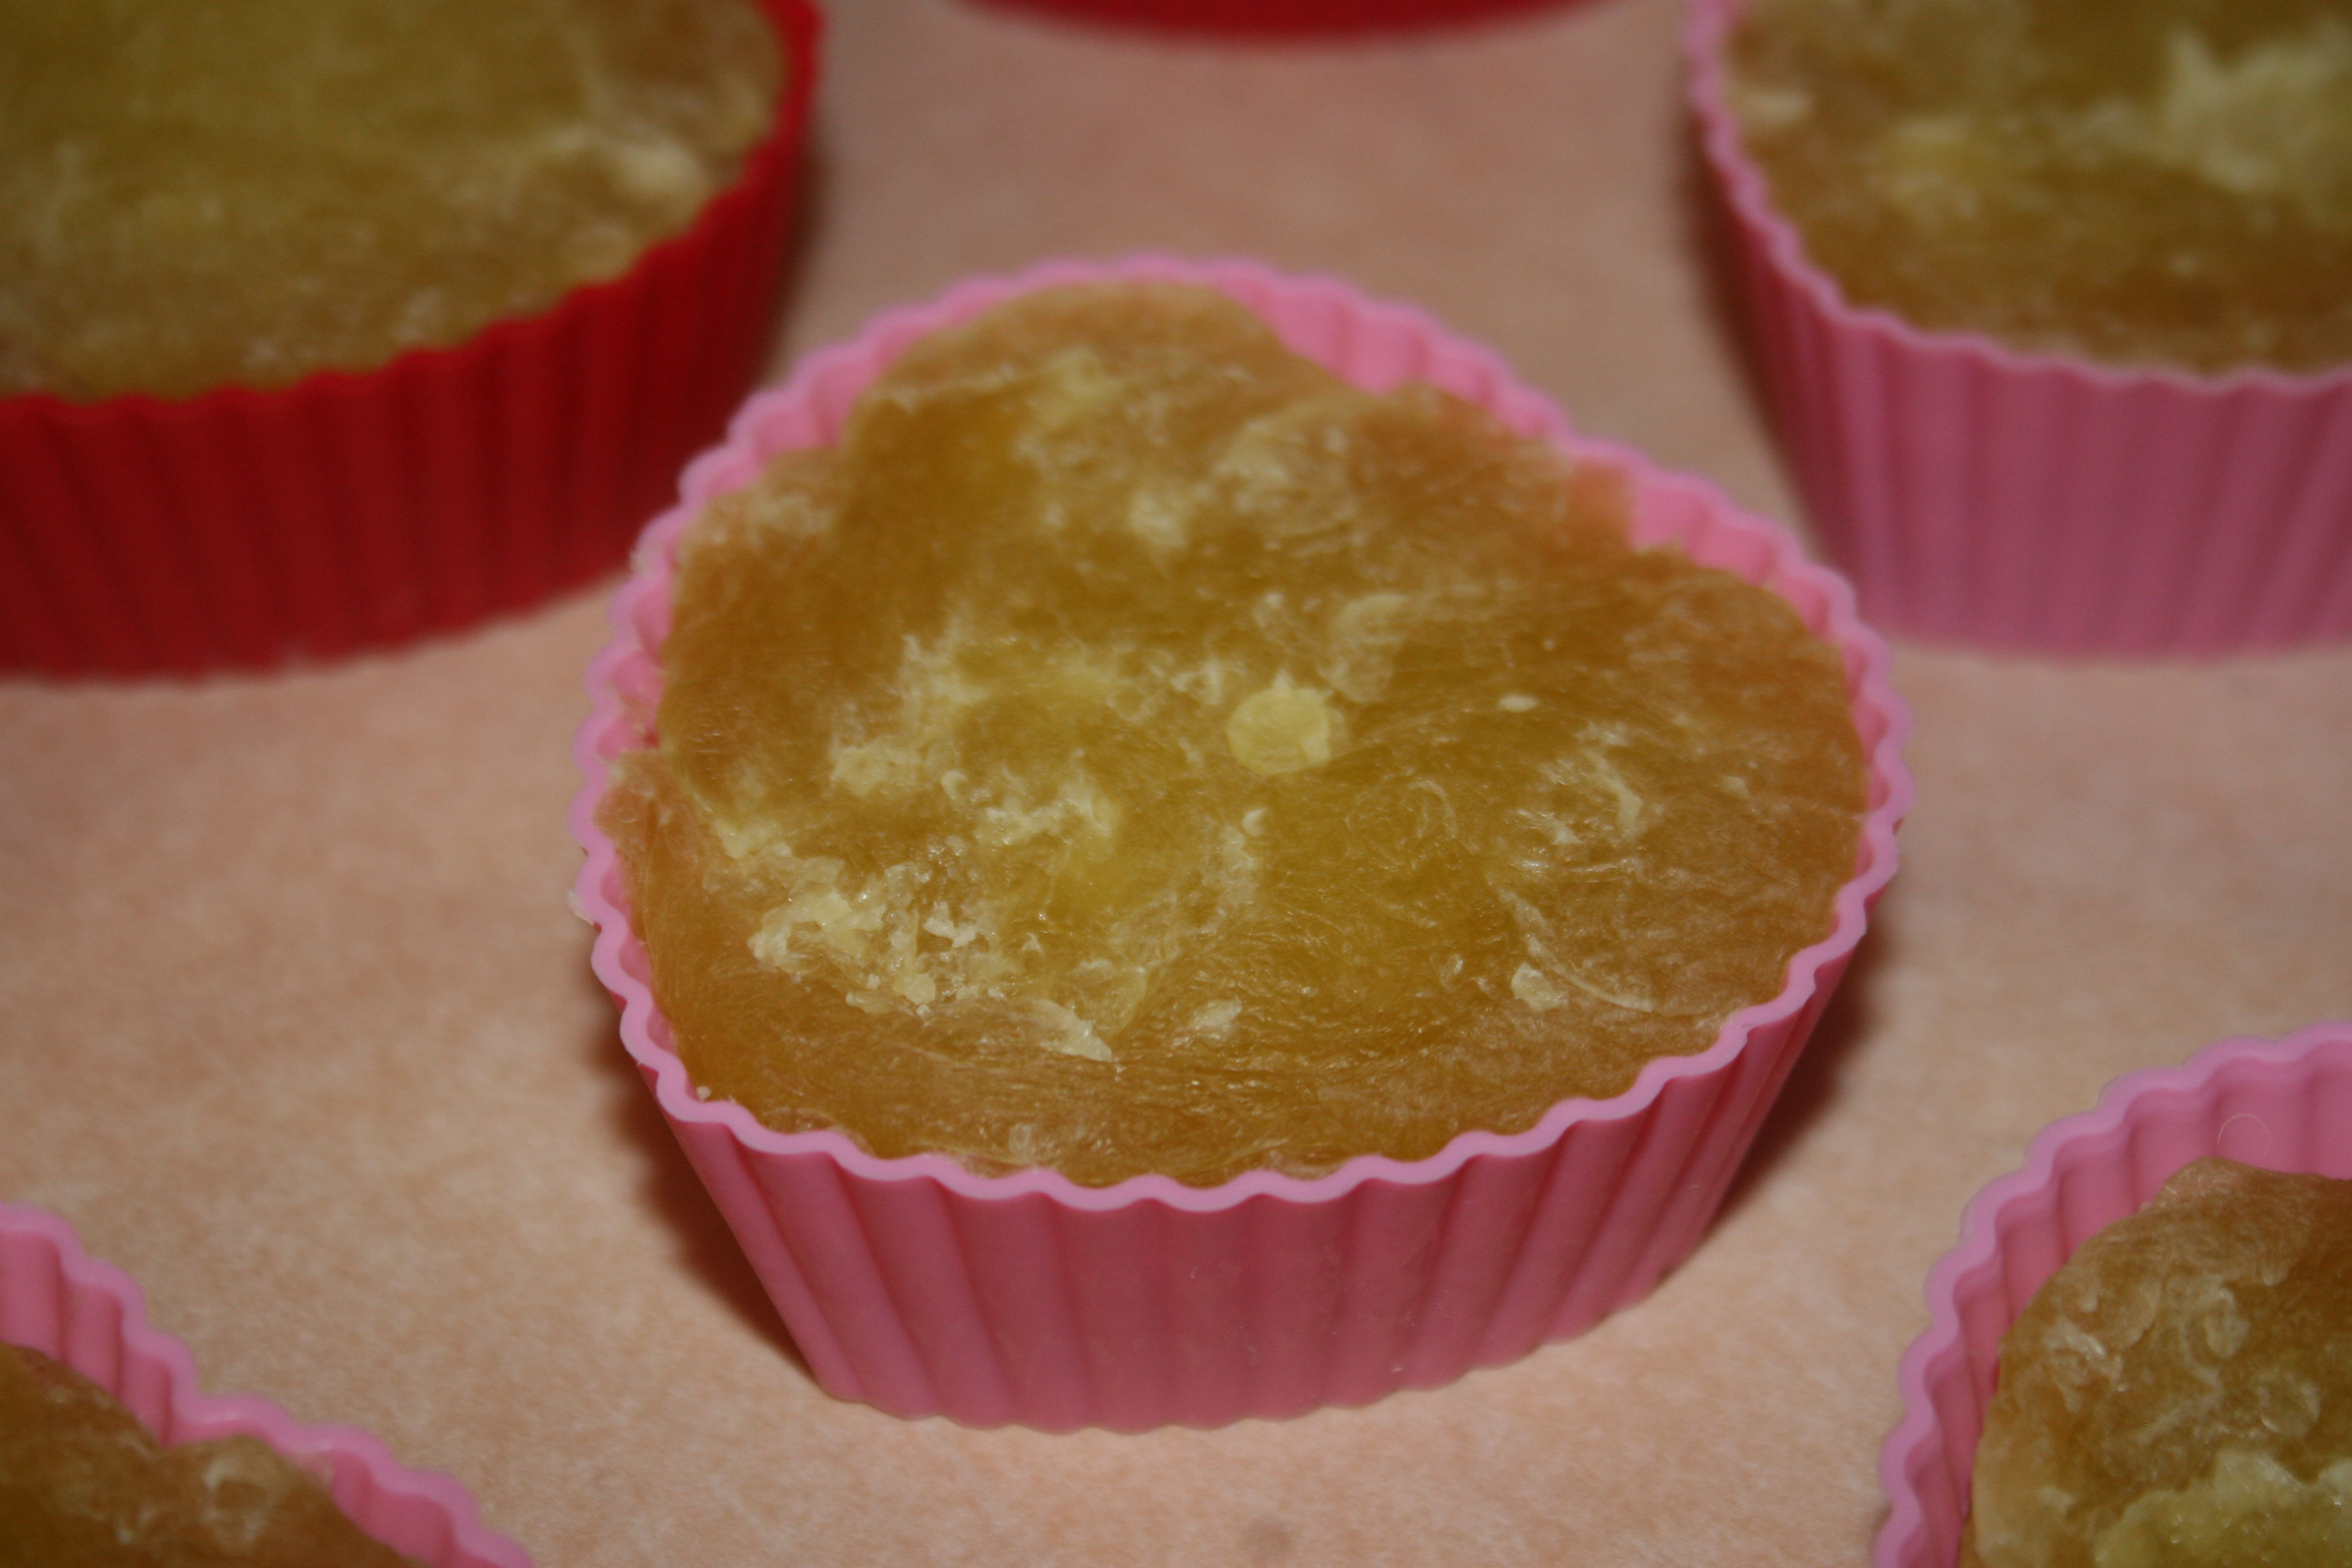
After about an hour of cooking, the sides of the soap will have collapsed into the center and the surface will not show any standing oil. At this point, I added in my essential oils for scent and stirred the soap up. Working quickly, I then filled my silicone molds. Silicone molds work well because it’s very easy to pop the finished soaps right out of them. You can also use a plastic bin or a wood frame or a box, just line them with parchment paper first or you could also use a cut up plastic garbage bag. The soap started to change color and set up quickly once poured in my molds.
I let them set for 24 hours and then popped them out of the molds. We started to use one that day (we just couldn’t wait!) although it is best to let them “cure” for a few days so they will harden more and last longer.
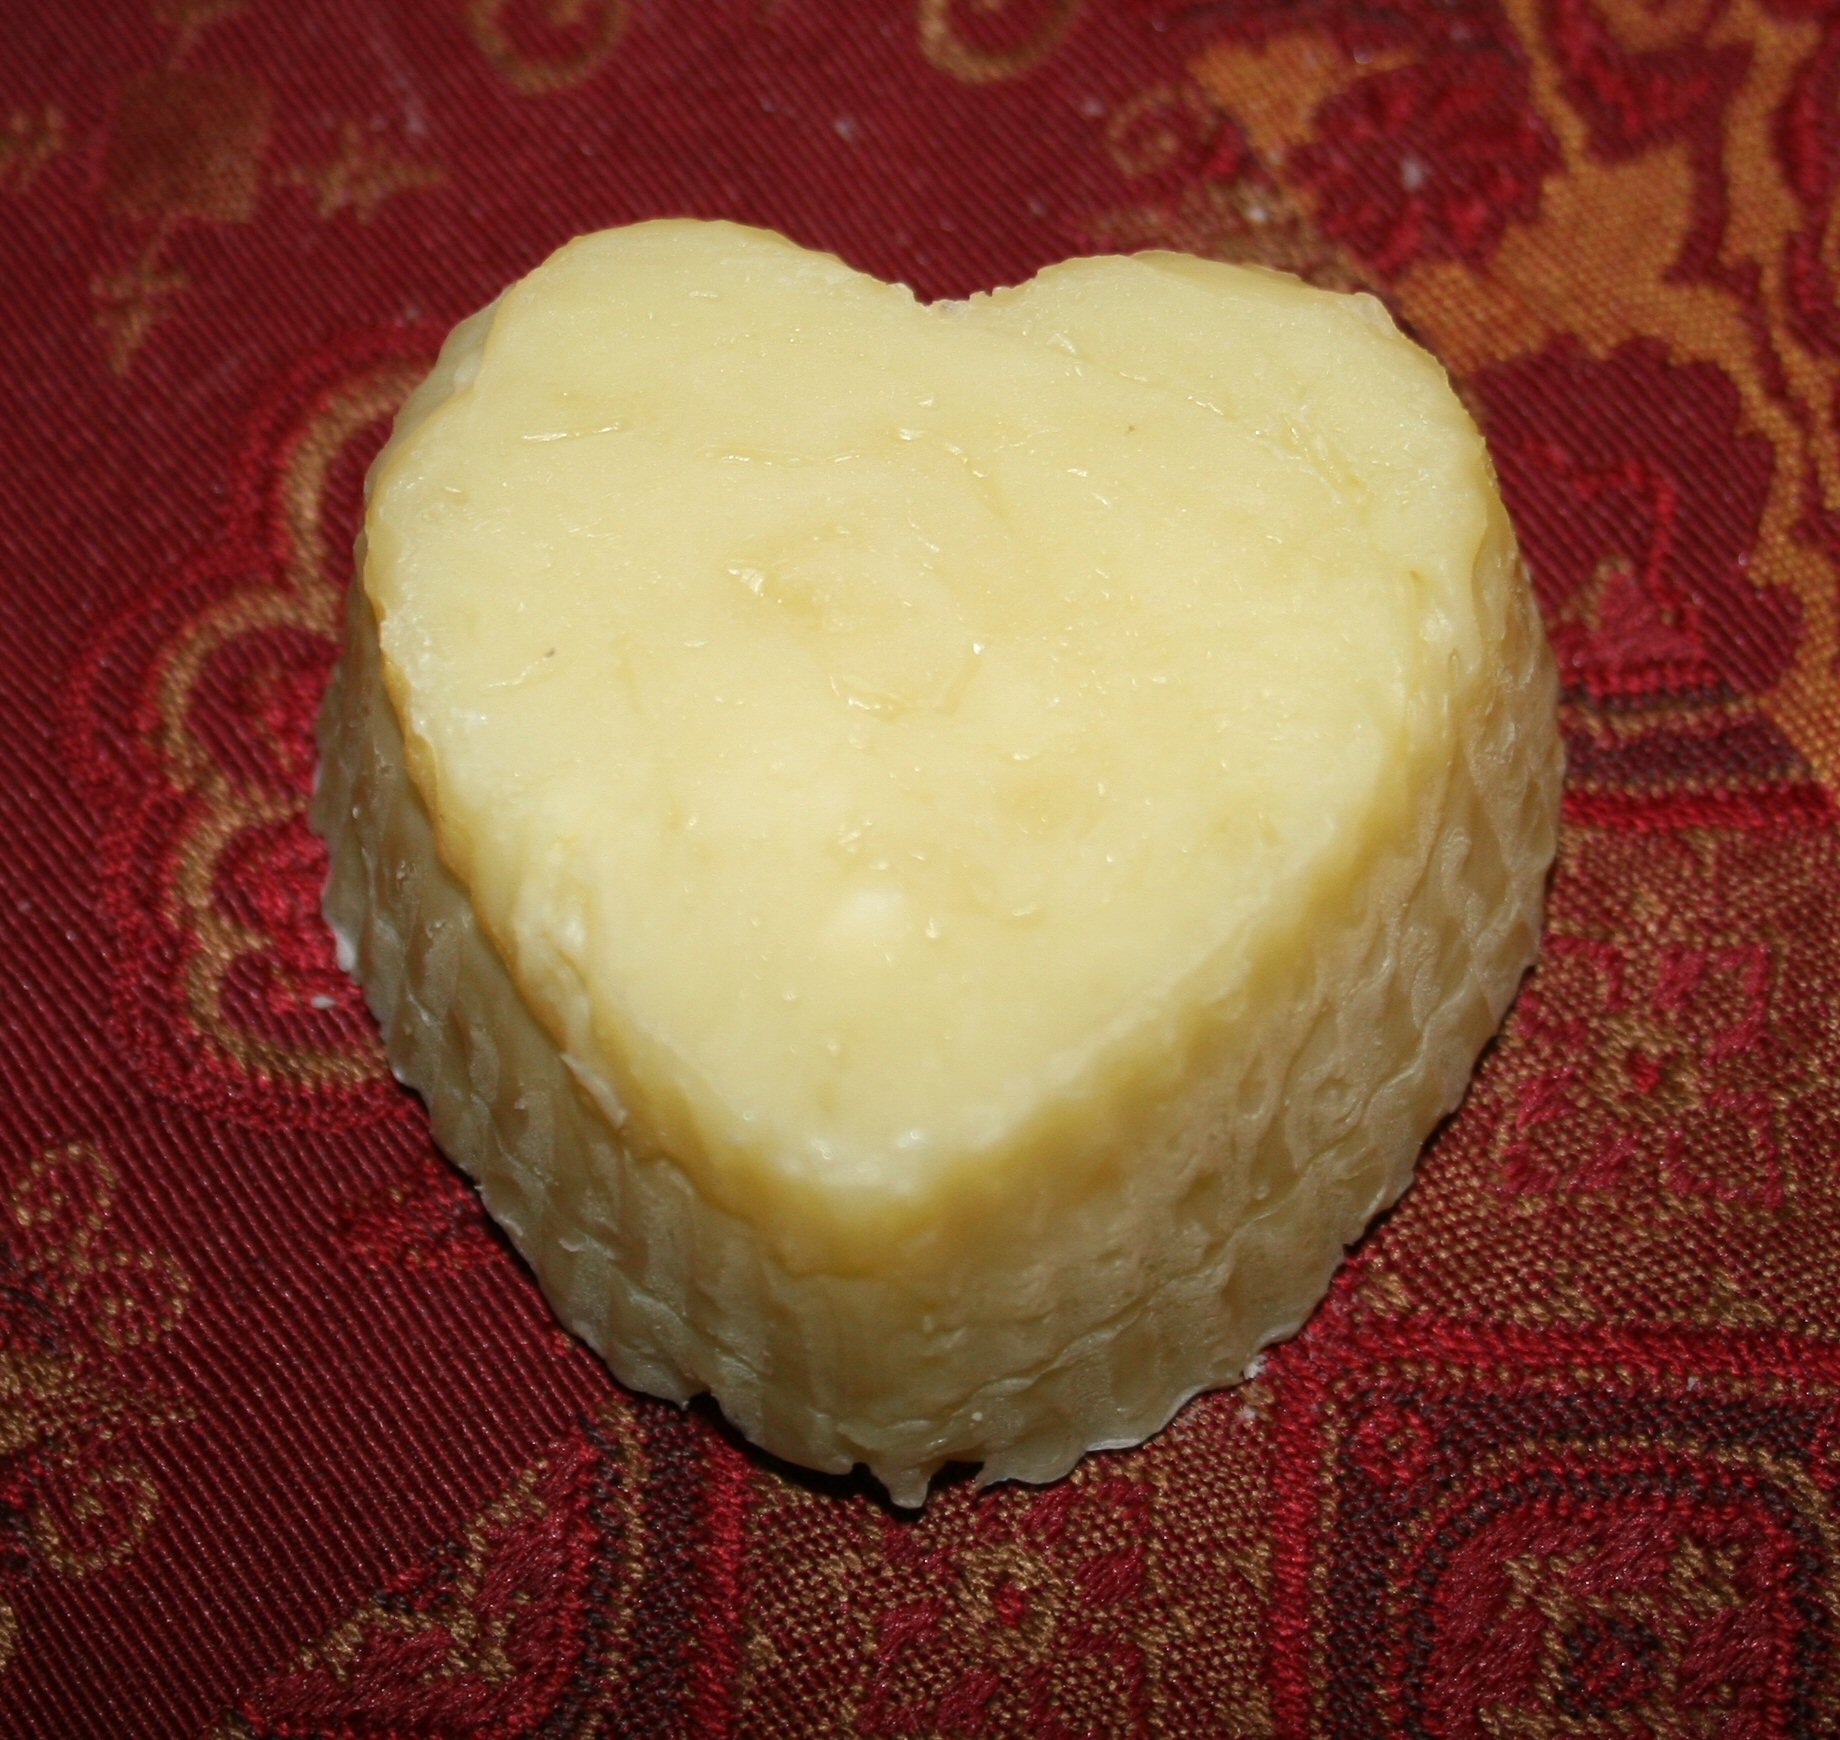
I am so glad I tried this new adventure in soapmaking. I am hooked and am already figuring out new recipes that I’d like to try. I hope this has inspired you to try it too!
“Who may ascend into the hill of the Lord? Or who may stand in His holy place? He who has clean hands and a pure heart…” (Psalm 24:3-4)