
Feeding a family frugally can be a challenge, especially when grocery prices have risen so drastically and remained high for the last few years. There are many ways to eat well without breaking the bank, and one of those ways is to utilize food preservation.
We have run across some great sales on chicken at a local grocery store recently: boneless, skinless chicken tenders and boneless, skinless chicken thighs for $1.69/lb. We bought 60 pounds at that price. While we could certainly have divided up all that meat up and frozen it, it takes up a lot of freezer space and is subject to freezer burn if not used up fairly quickly. We prefer to can our chicken. I love having it on hand for a quick meal or for travel. The meat is so tender and flavorful, and it is super easy to can since it is raw packed and no added liquid is needed.
We use this canned chicken in many ways: chicken pot pie, soups, chicken and rice, chicken fajitas, chicken salad…you get the idea!
To can chicken you will need:
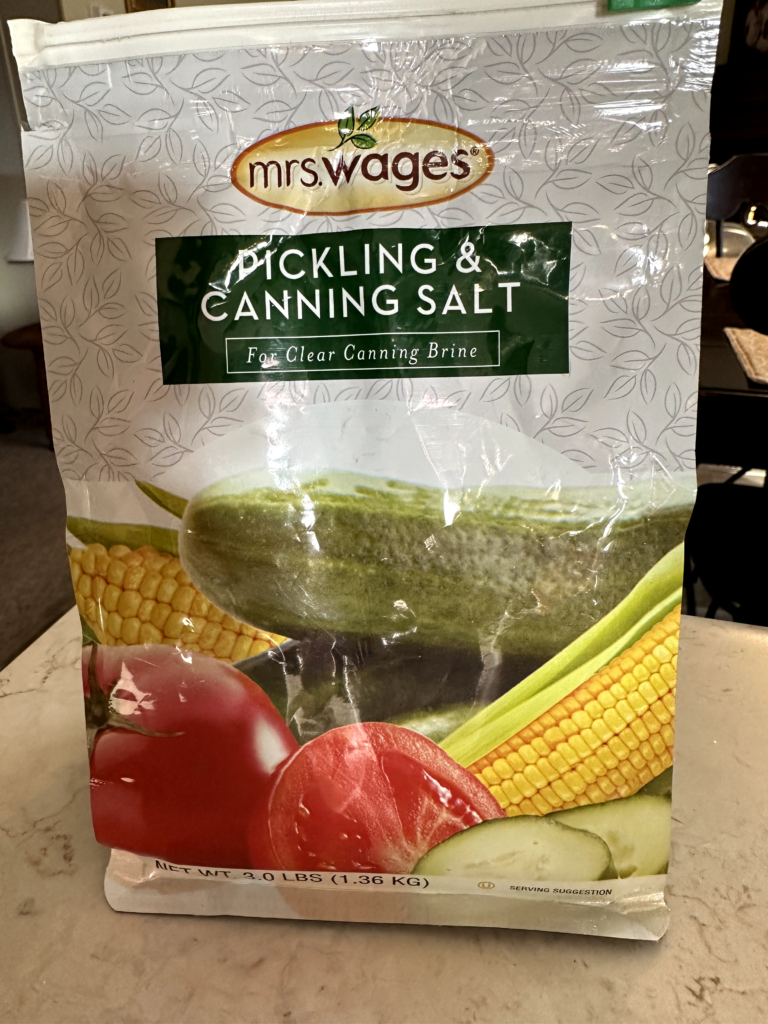
- Canning salt
- Vinegar
- pint or quart size glass canning jars free of any nicks or cuts
- lids and bands
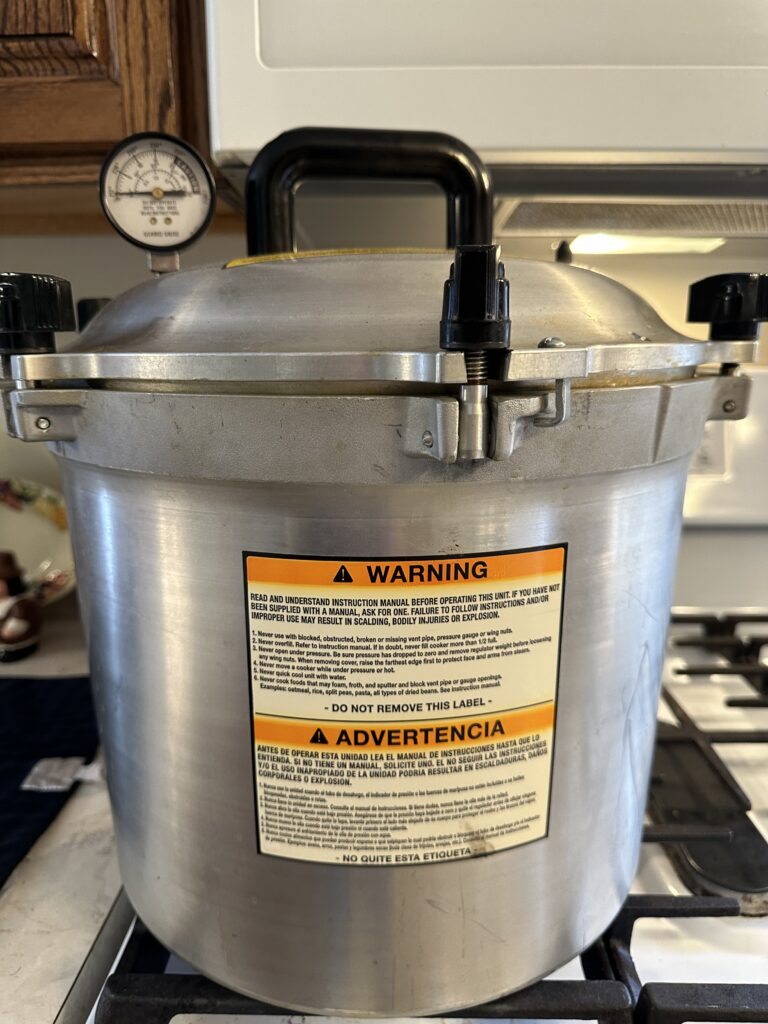
- pressure canner
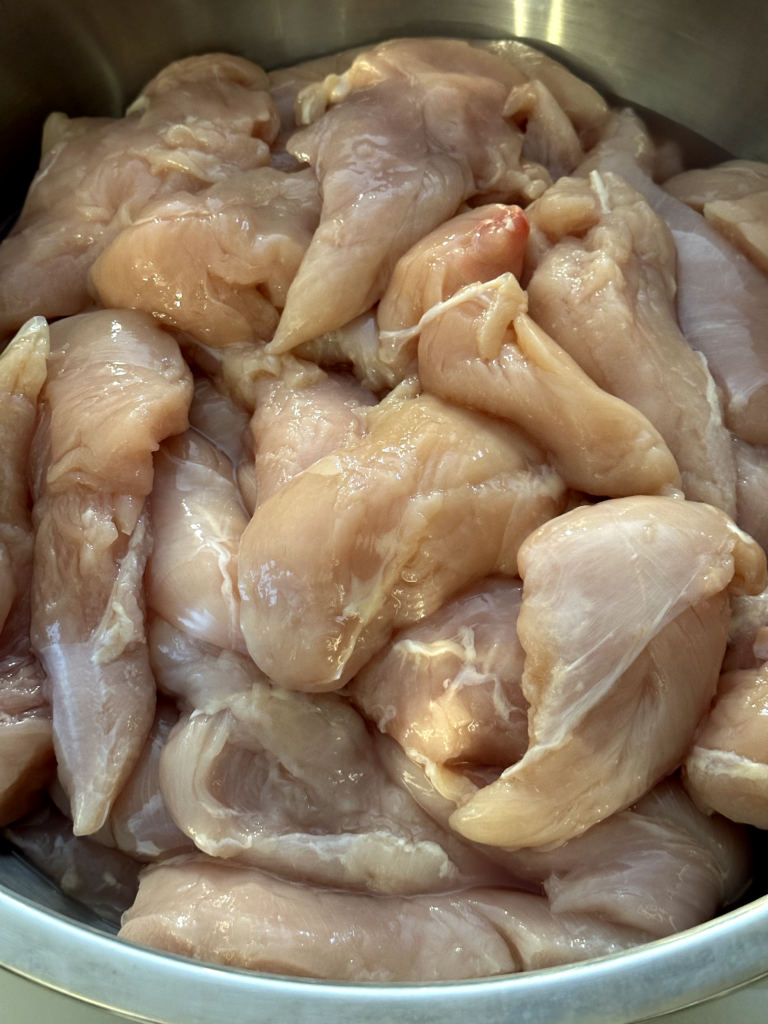
To get started, assemble all of your required items. I start by putting the canner on the stovetop and pouring in the water to the level needed. I place all of my chicken in a large bowl with a large cutting board and knife in front of it. I put the canning salt in a small bowl with a 1/2 tsp. measuring spoon in it. I pour some vinegar into a small bowl and have a cloth next to it. I wash all of my jars and sterilize them with hot water. The lids and bands are rinsed in hot water then set in a pan of hot water until ready for use.
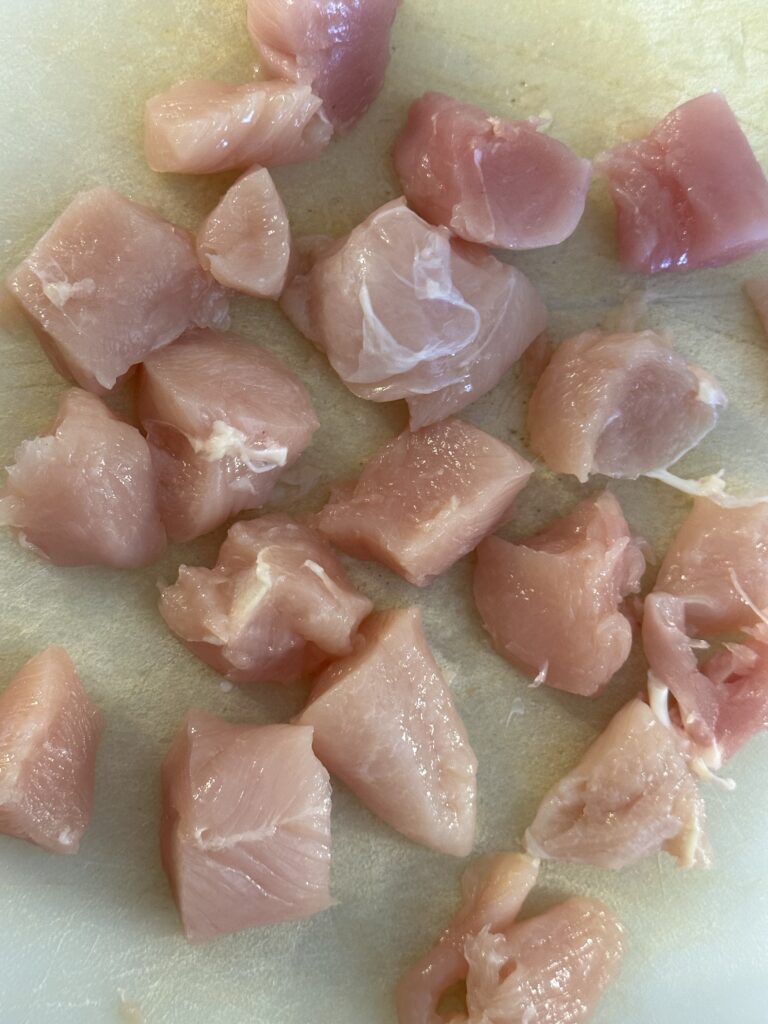
Step one – Cut up the chicken in large chunks.
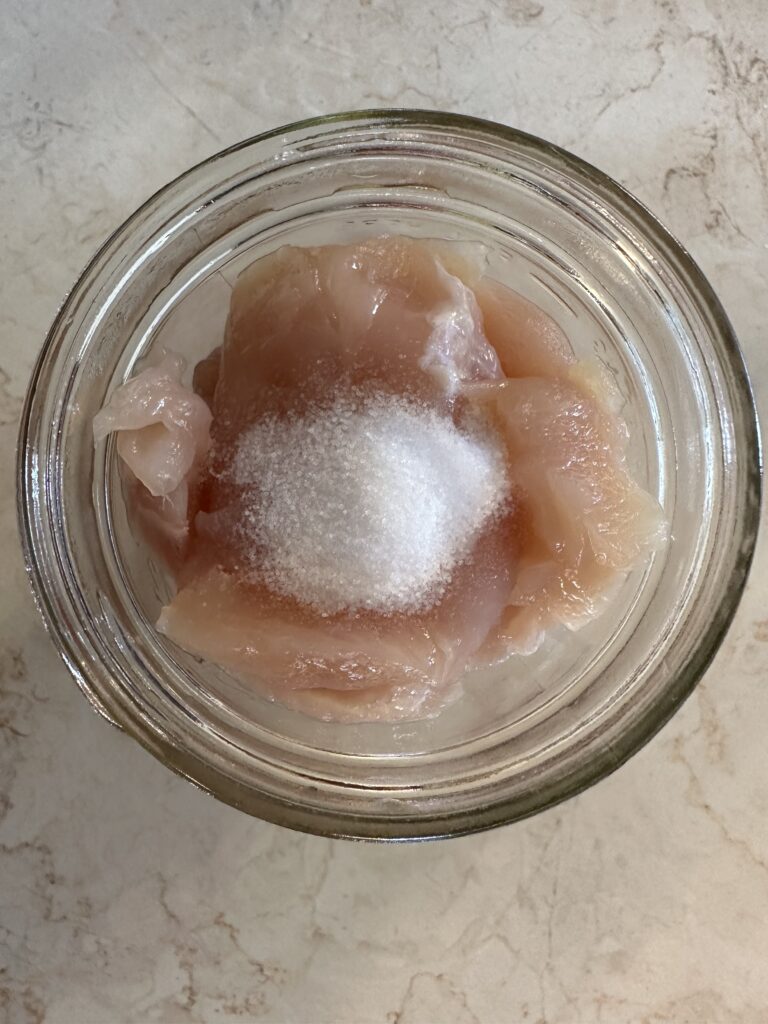
Step two – Pack them into a canning jar (we use pints which is roughly a pound of meat).
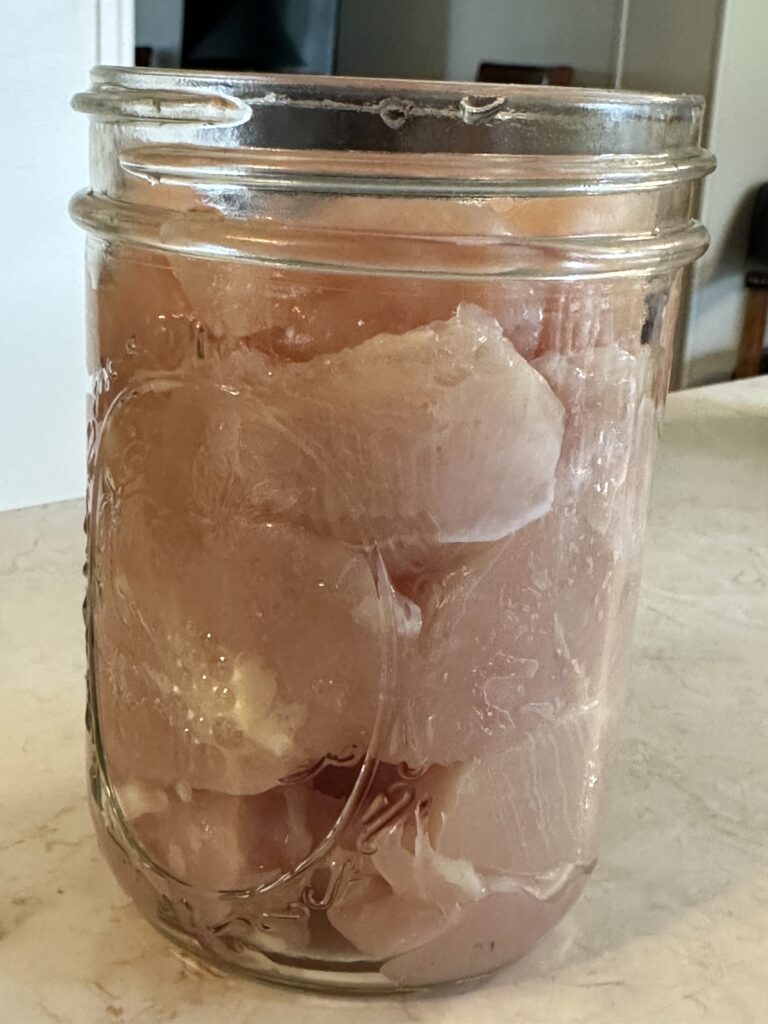
Step three – Use the plastic canning tool to remove air pockets.

Step four – Add canning salt: 1/2 tsp per pint or 1 tsp per quart. At this point, the jar is ready to be sealed, no added liquid is needed.
Step five – Wipe the rim of the jar with a cloth dipped in vinegar to remove any residue and allow a clean seal. Place the lid on the jar and screw a band in place until finger tight. Place the jar into the canner.
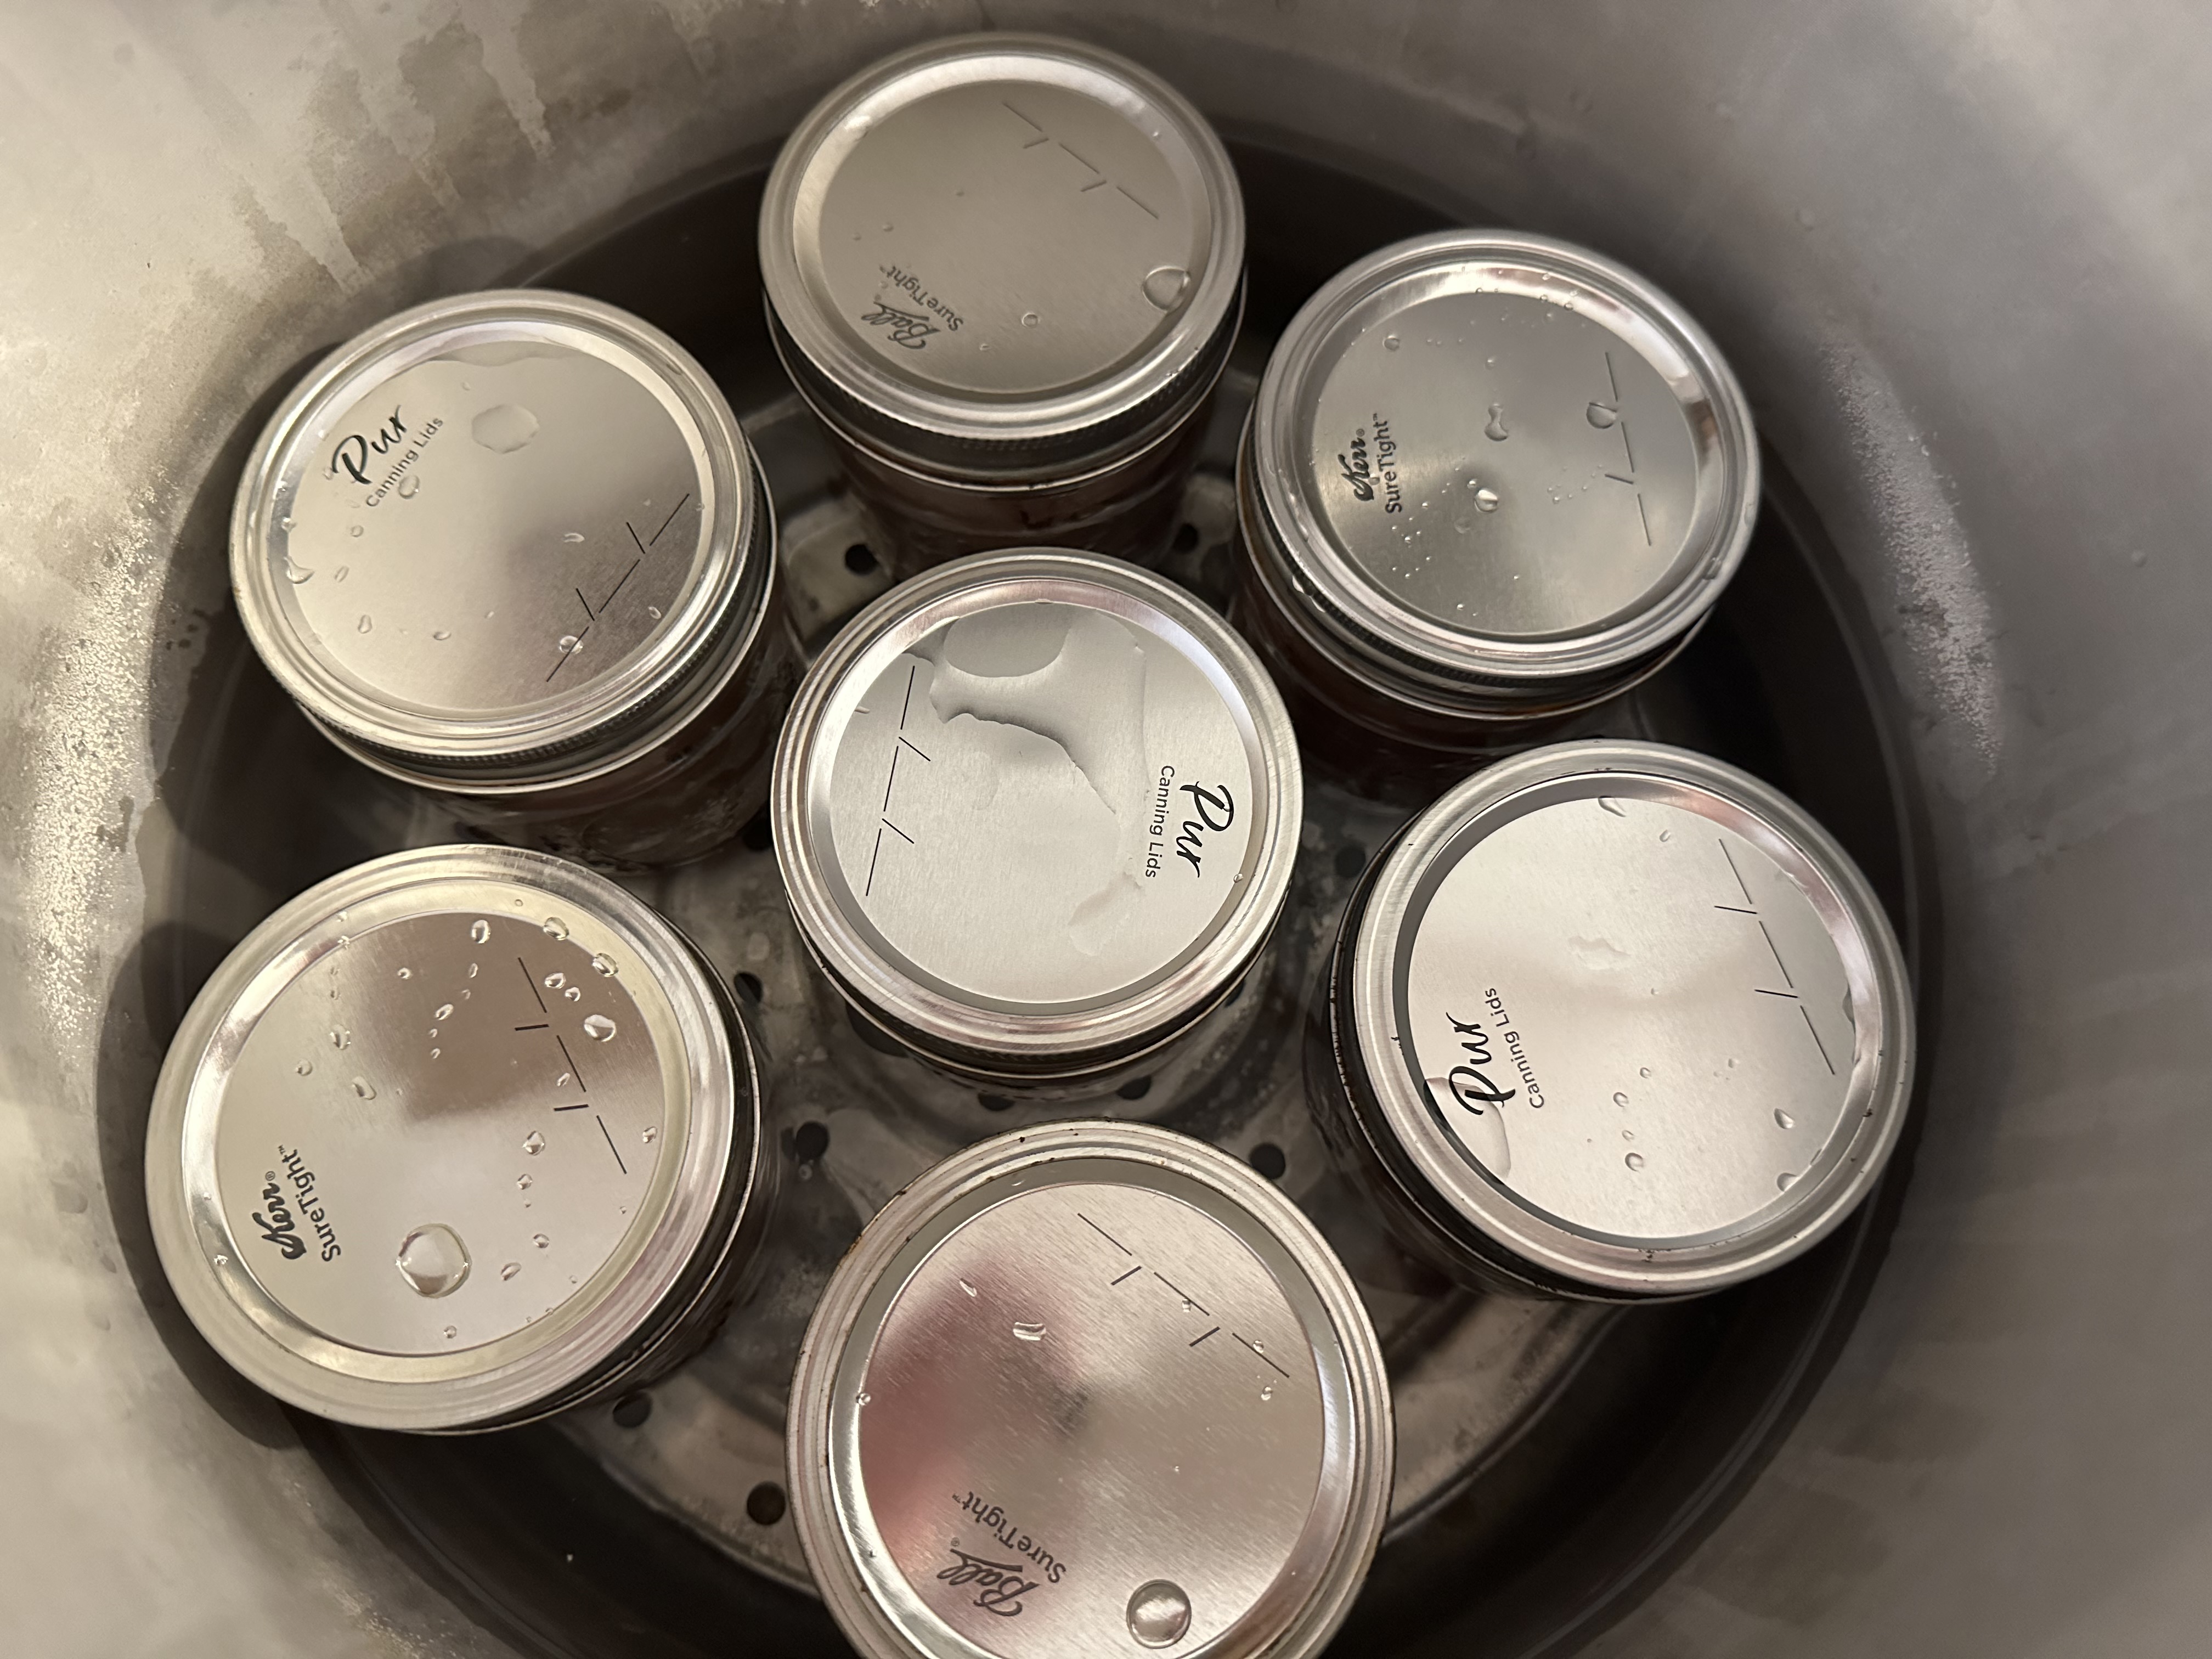
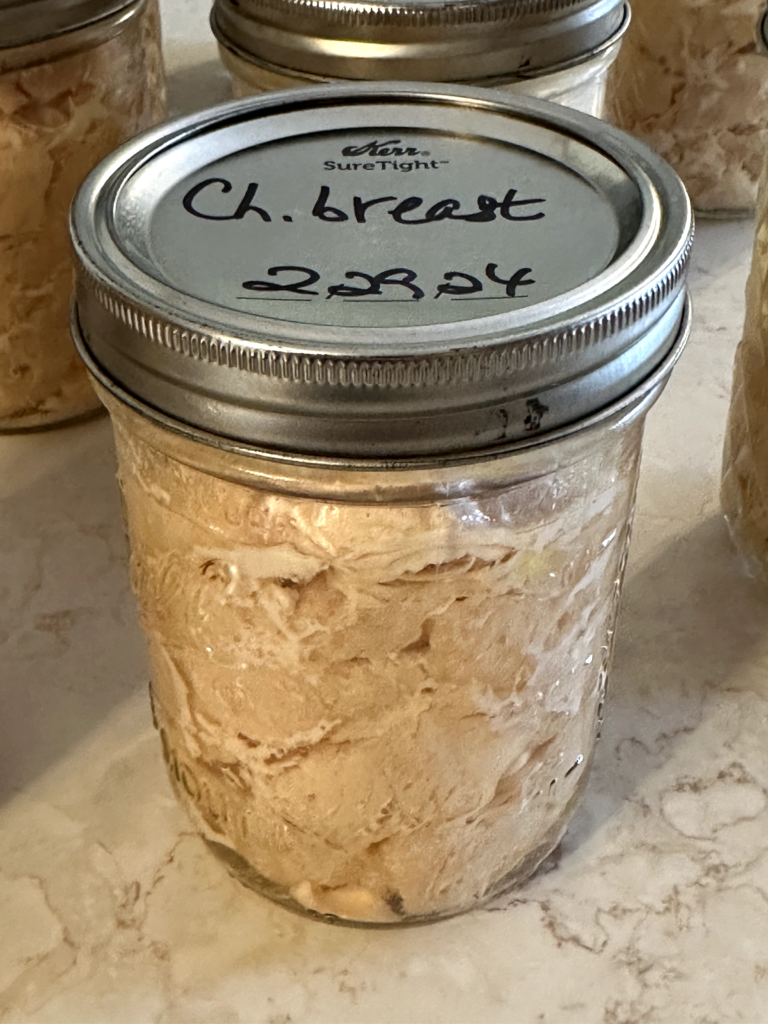
Step six – When the canner is loaded, secure the lid and process according to the manufacturer’s instructions. For canned meat, pints are processed for 75 minutes and quarts for 90 minutes. When canning is completed, make sure all of the jars are sealed. You can press the middle of the lid, and it should be tight with no give. If a jar hasn’t sealed, simply refrigerate it and use within ten days. Note: It can take several minutes for the jars to seal. Remove them from the canner with the jar grip tool and place them on a towel on the counter. You will likely hear the popping sounds that are made as the jars seal. And it will make you happy!
Last step – Celebrate! You have successfully canned chicken which will save you time and money and be absolutely delicious. This just might make you a hero – or a woman who “looks well to the ways of her household.”